
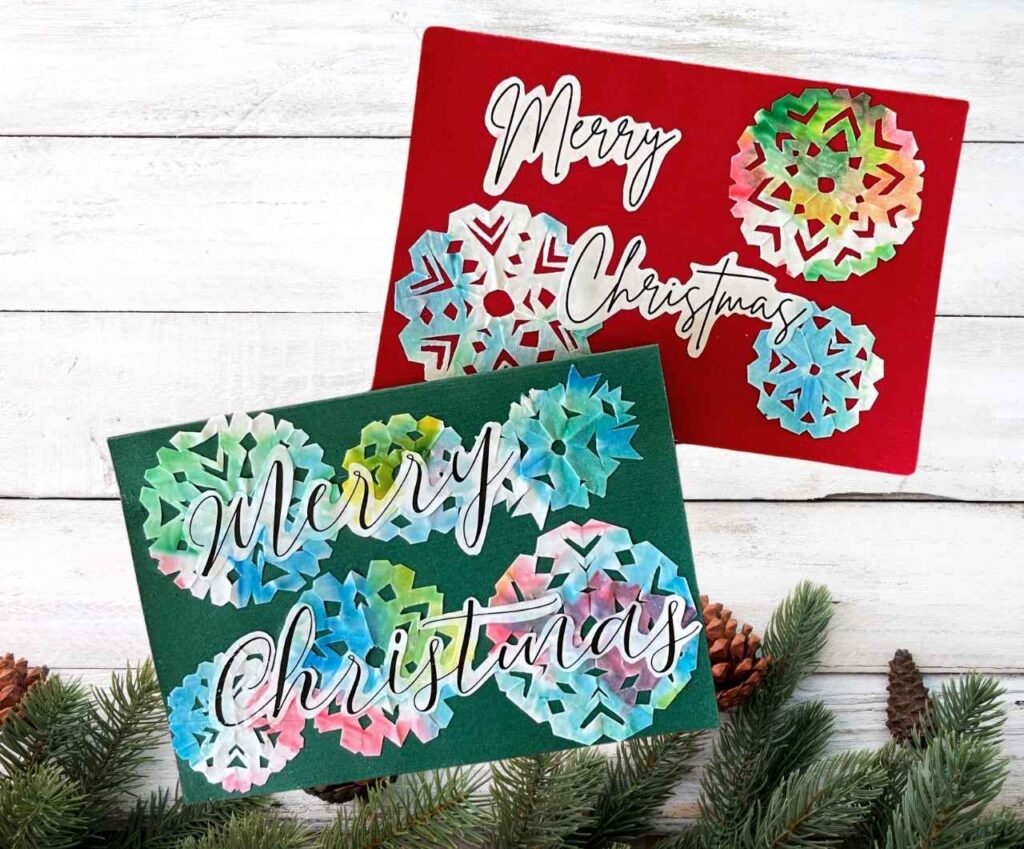
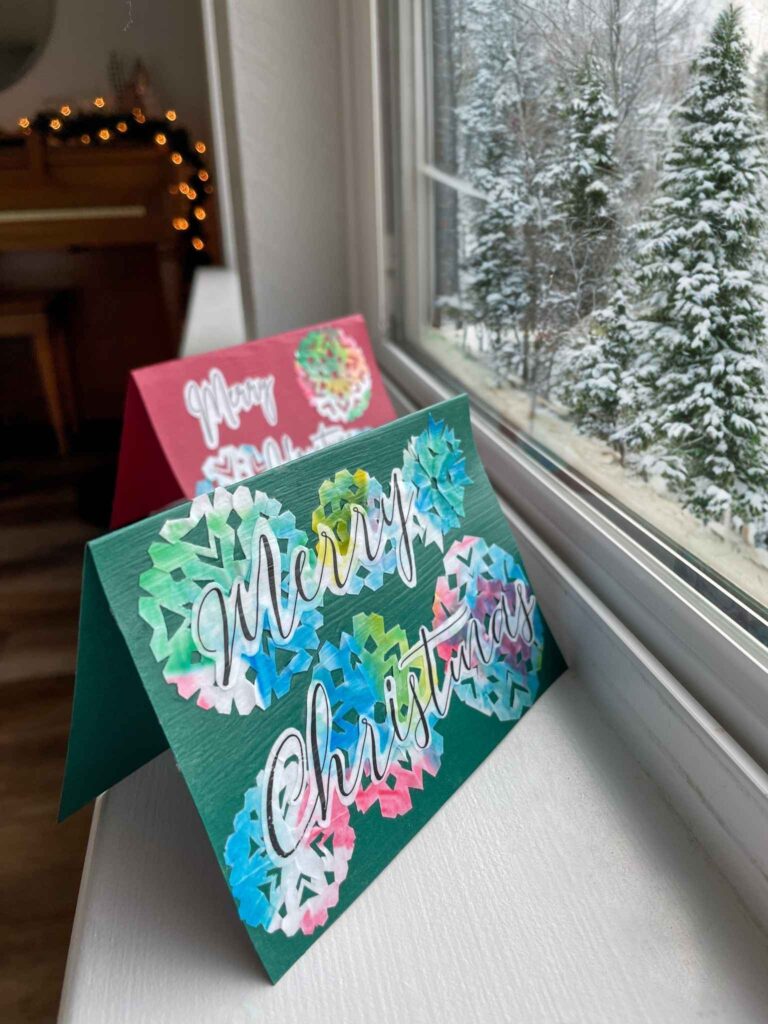
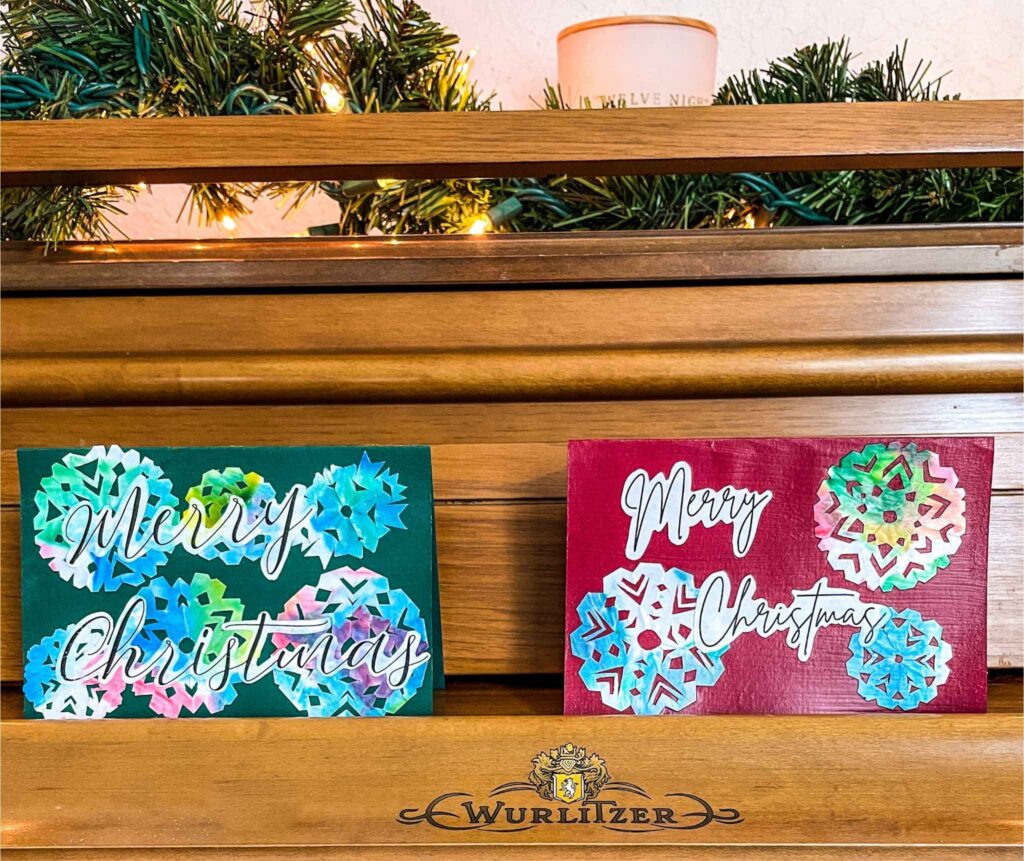
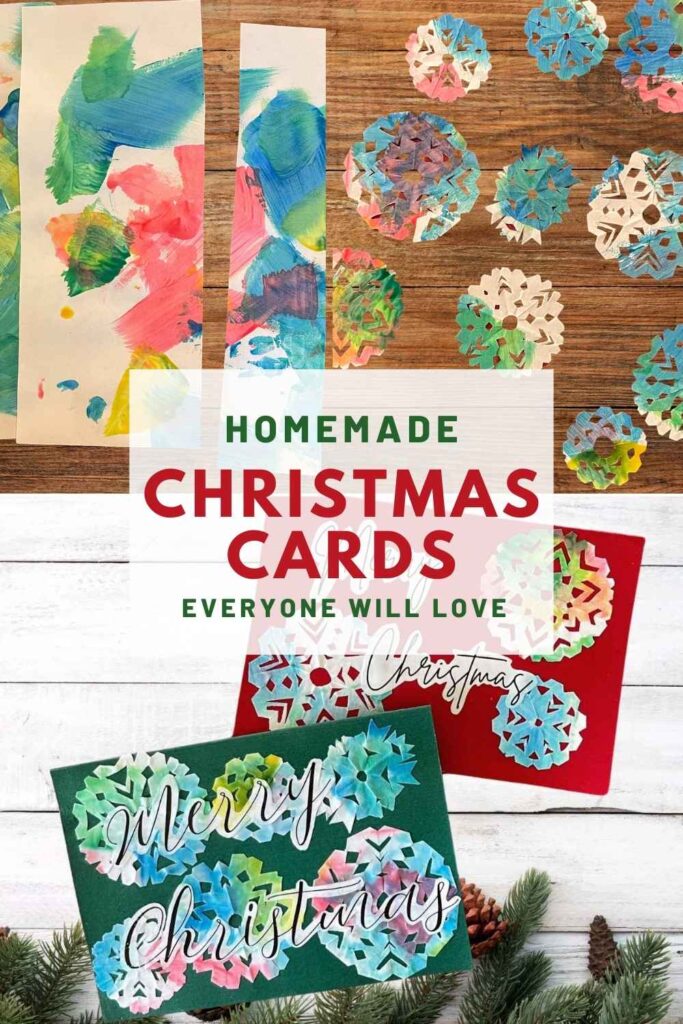
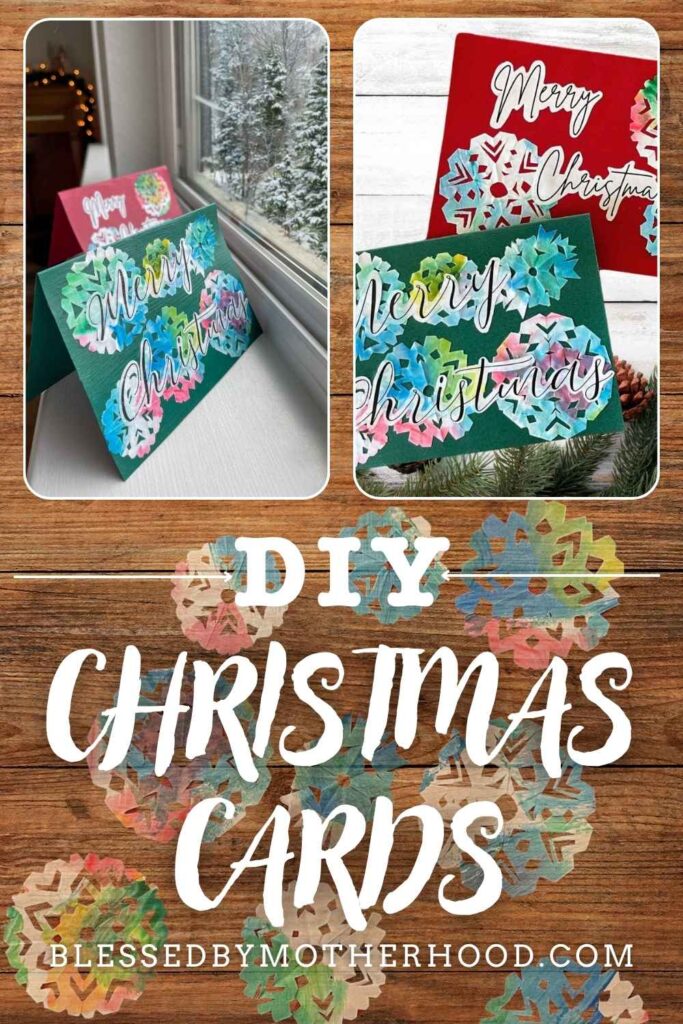
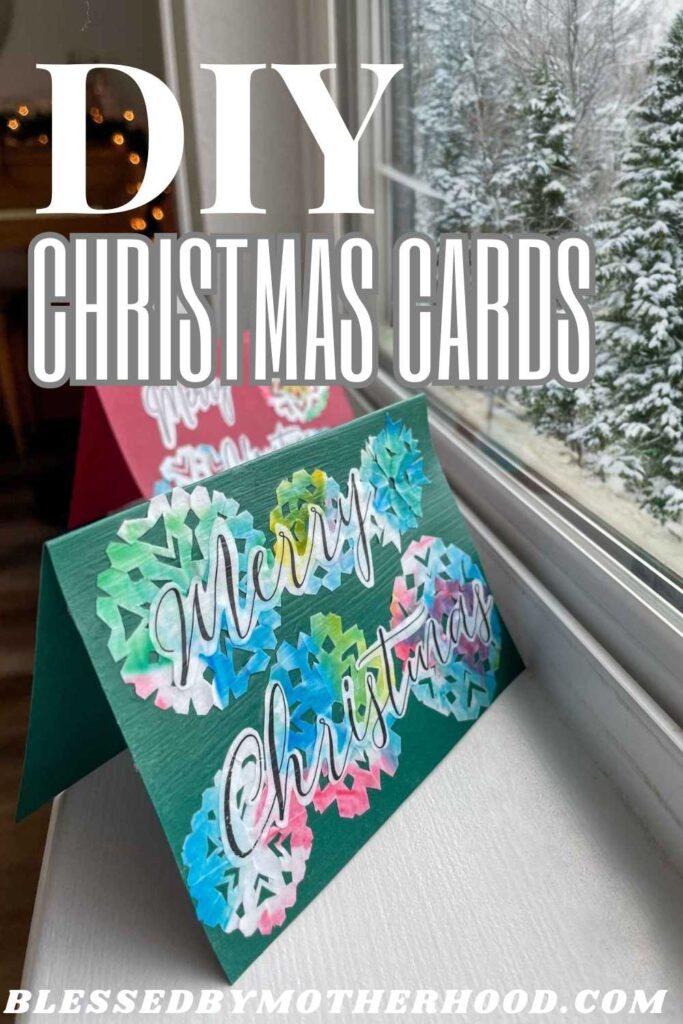
Create Christmas cards you’ll be proud to put in the mailbox.
DIY Christmas cards say so much to the ones who receives them. It tells them you care enough to take the time to make something specifically for them. It tells them you value them. Most of all, it tells them you love them.
Friends and family love to open their mail and find something handmade for Christmas rather than purchased from the store. These Christmas cards are just the thing to send out this season.
These DIY Christmas cards can be made with the help of your child or on your own. My two year old enjoyed painting the paper the snowflakes would be made out of.
The satisfaction and pride I see in my child when we complete a project together is unbeatable. He wants to show everyone what he made.
There’s nothing better than going to Grandma’s house and seeing his artwork on display.
RELATED: Memorable Christmas Family Traditions
This post contains affiliate links, as an Amazon Associate I earn from qualifying purchases at no extra cost to you. View privacy policy and disclaimer here.
Supplies:
-White paper (I used printer paper)
-Paint (I used tempera paint)
-Paint brush or sponge
-Printed or handwritten “Merry Christmas”
Directions:
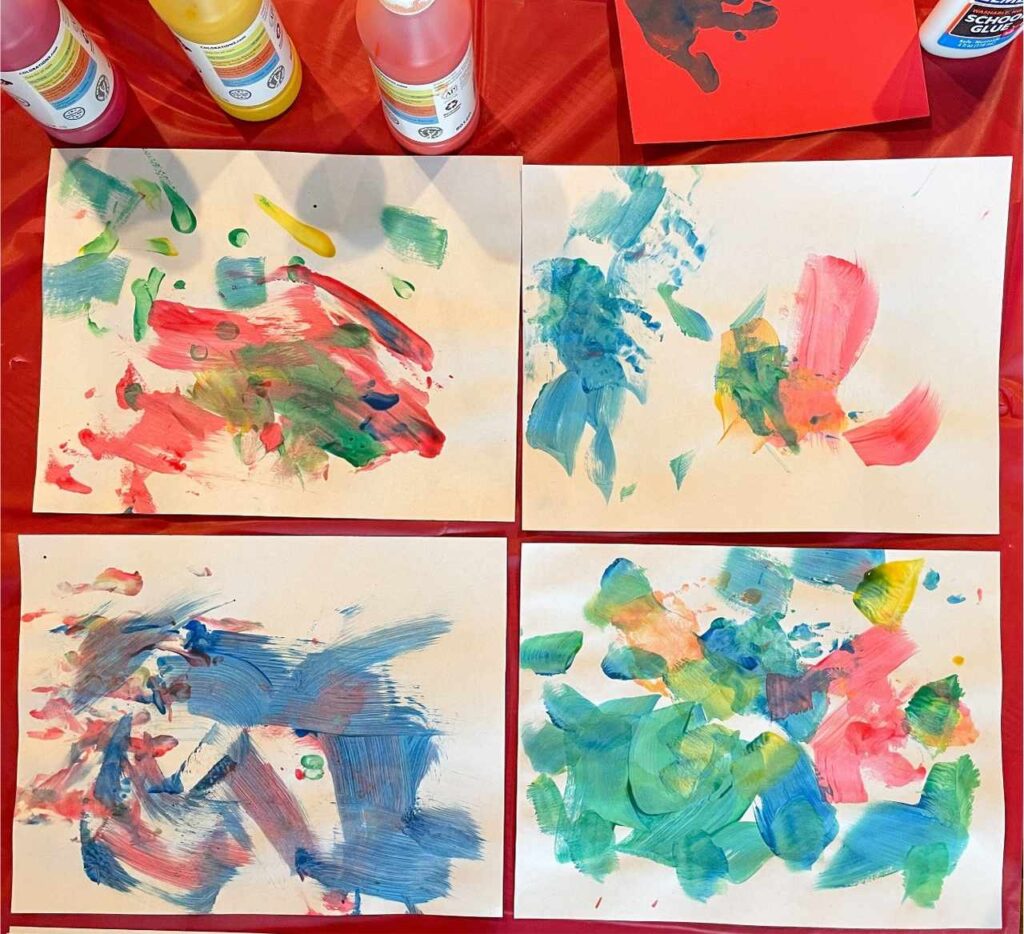
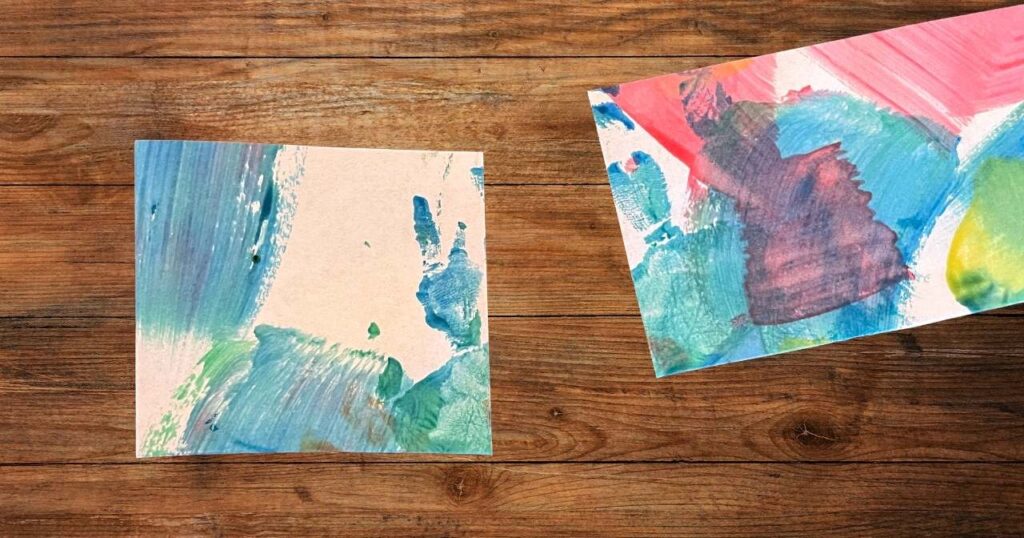
1. Paint the white paper. I had my toddler do this step so the brush strokes would all be different colors, sizes, and shapes. He loved to help!
When you are painting, think about the colors you want to appear on your snowflakes and the style of brush strokes you prefer.
2. Allow the paper to fully dry. Dry time will depend on the type of paint used and how thick it is. The tempera paint dries quickly so I only had to wait about an hour.
The paint must be absolutely 100% dry before moving on to the next step. It is best to leave it overnight if you are unsure.
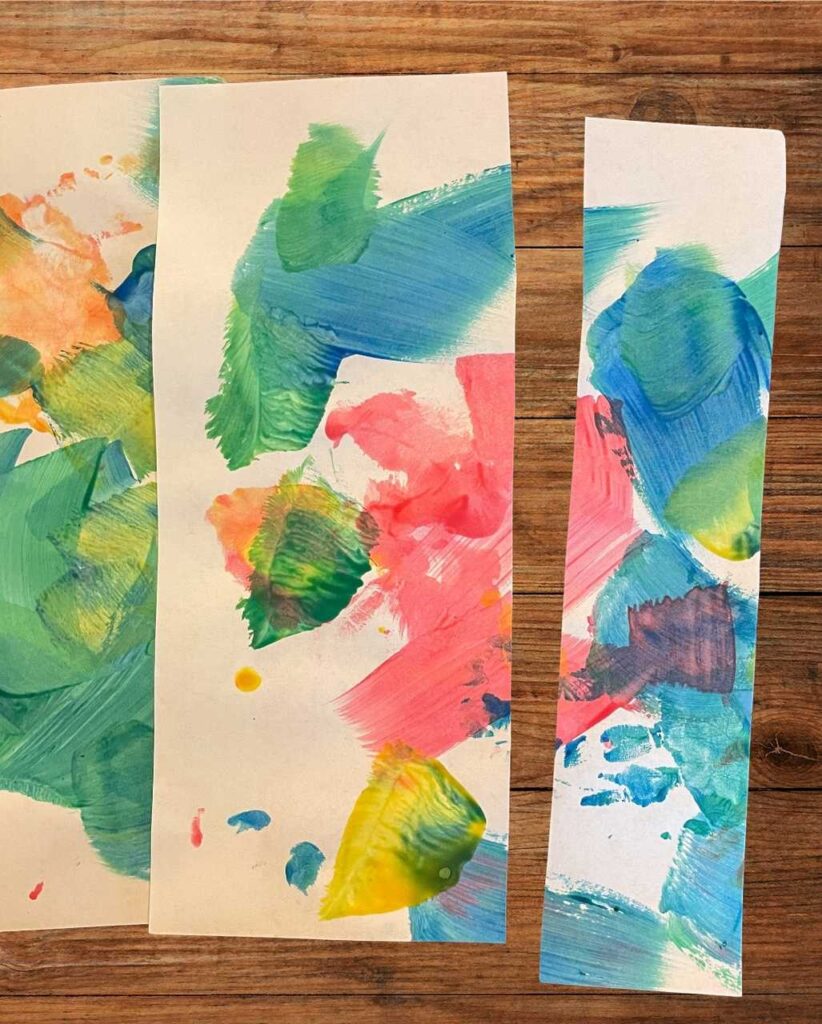
3. Once the paint is dry, cut a strip of paper about an inch thick.
I choose a section of the paper with lots of different colors of paint.
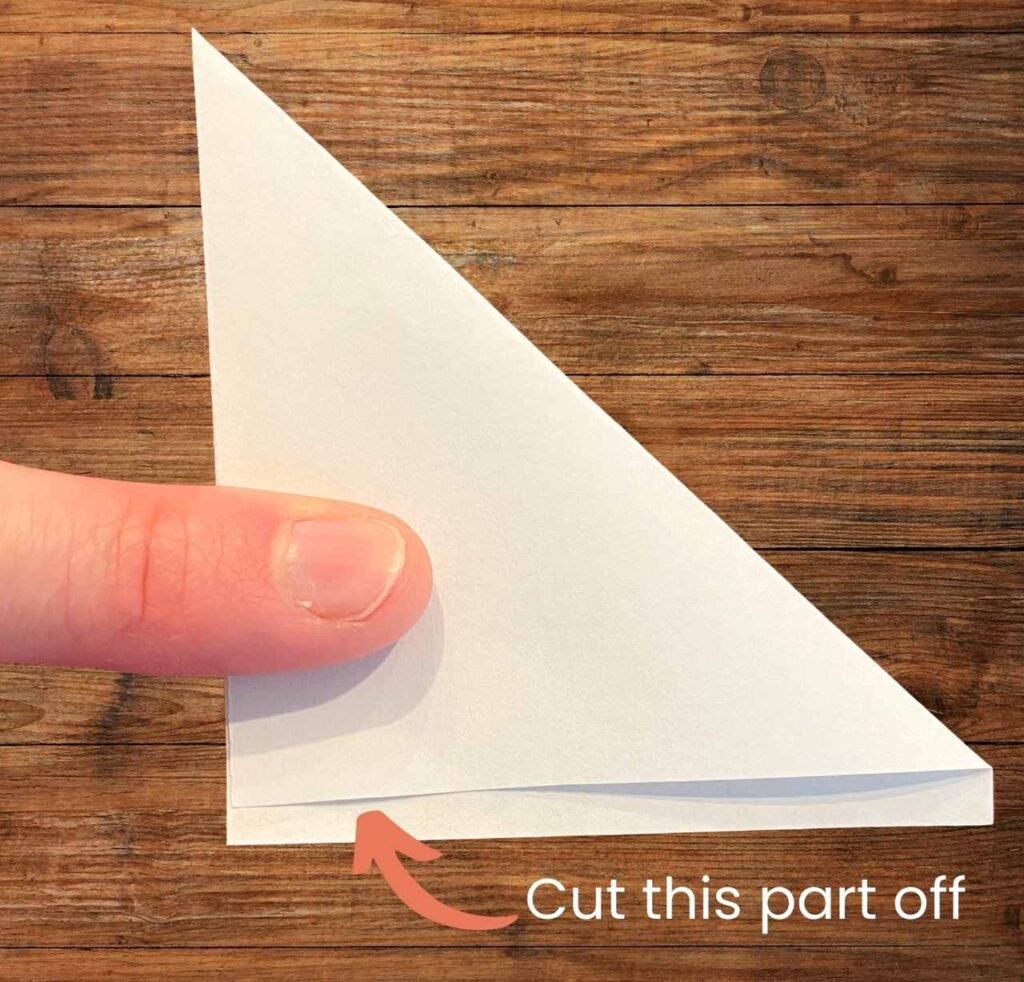
4. Now, cut a square out of that paper (just eyeball it). Once you have it cut out, fold one of the corners down, as shown in the picture. Then cut the excess paper off. This will ensure the paper is actually a square.
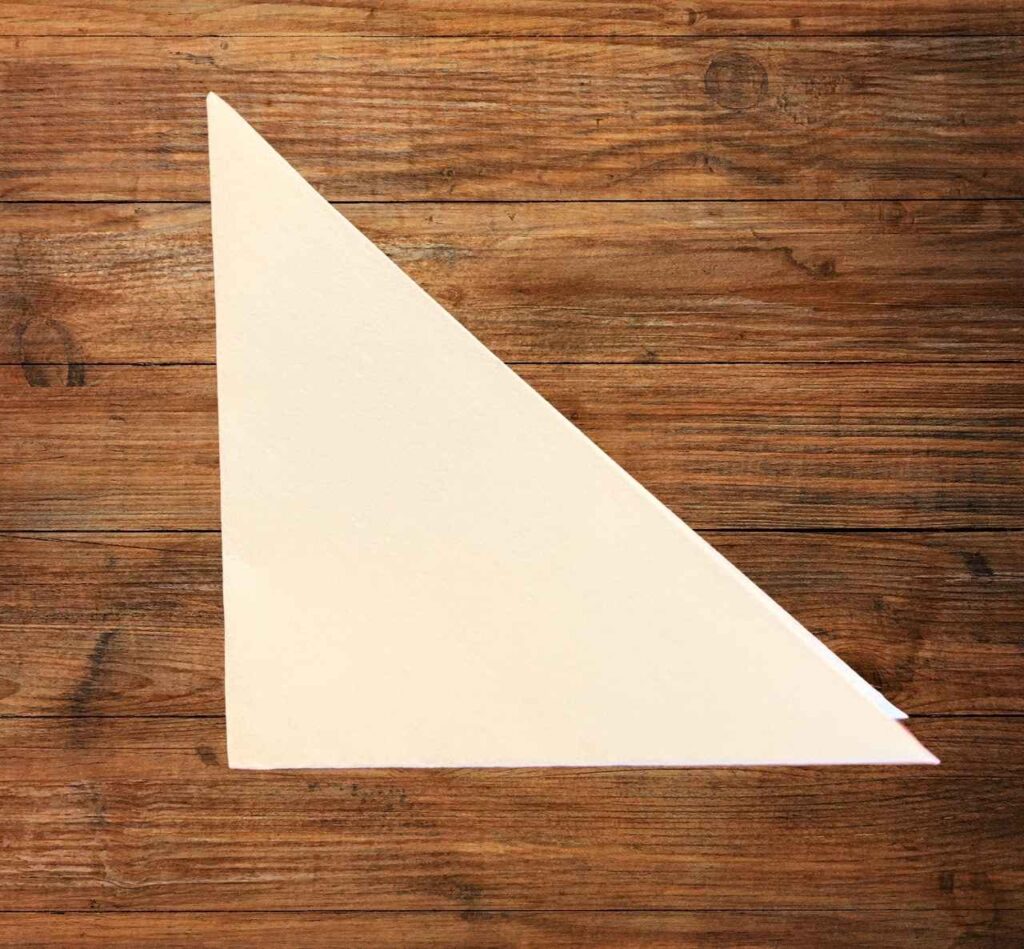
5. Time to make the snowflake! Fold the paper in half, then in half again.
6. Then, fold your paper into thirds.
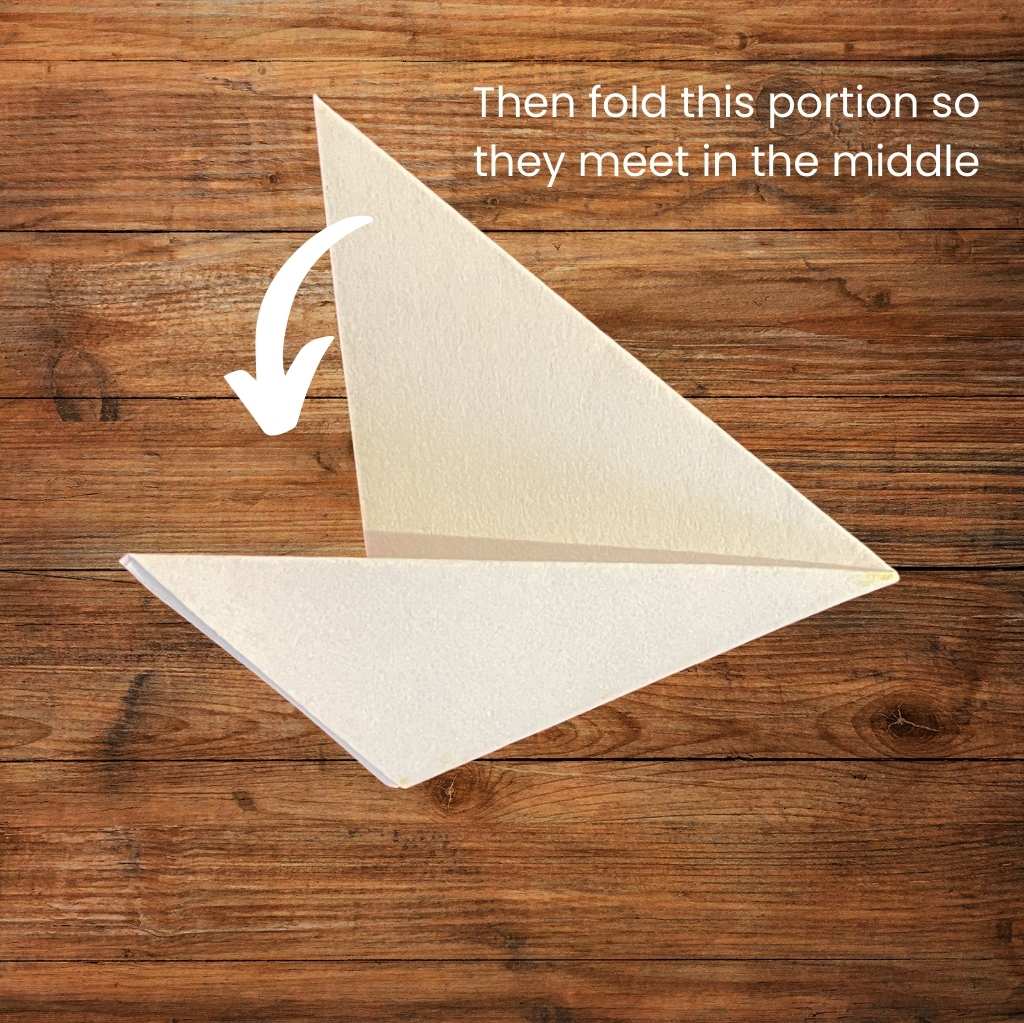
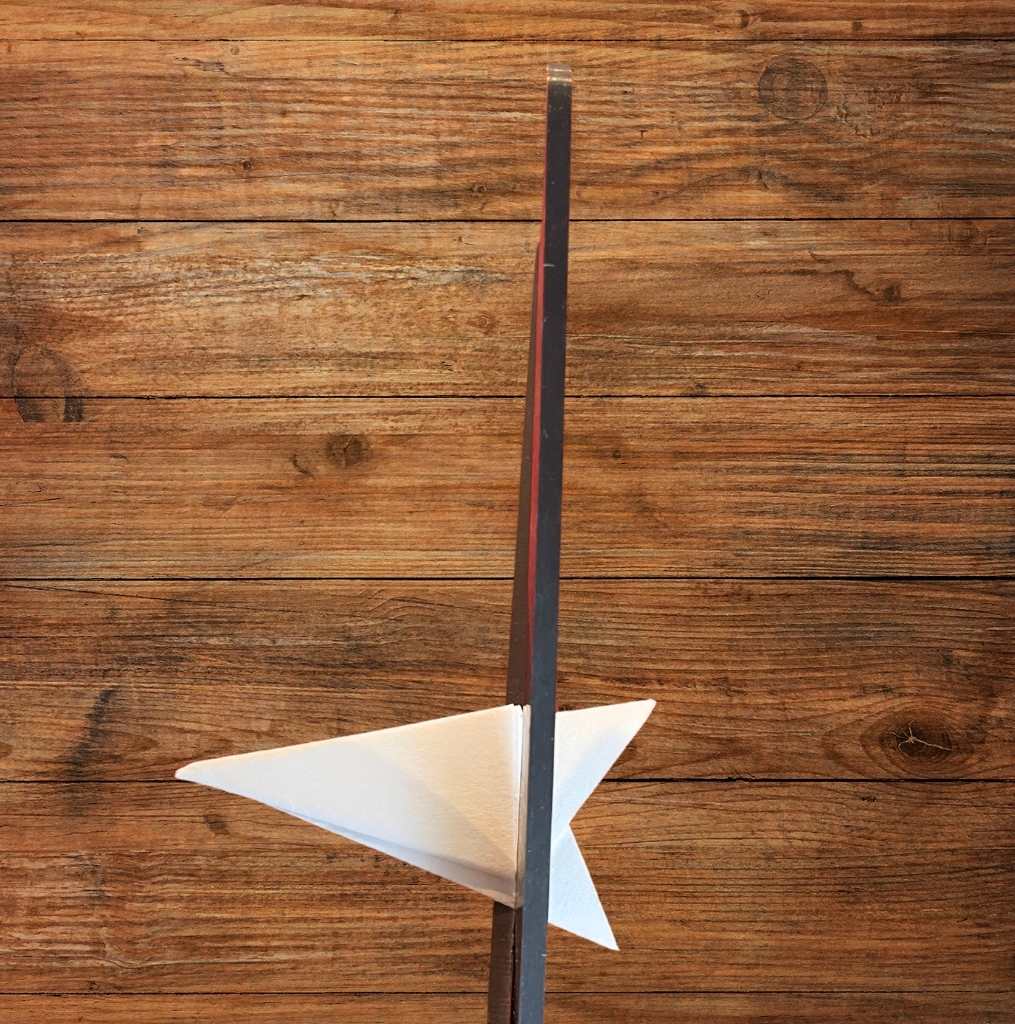
7. Cut the excess off the bottom.
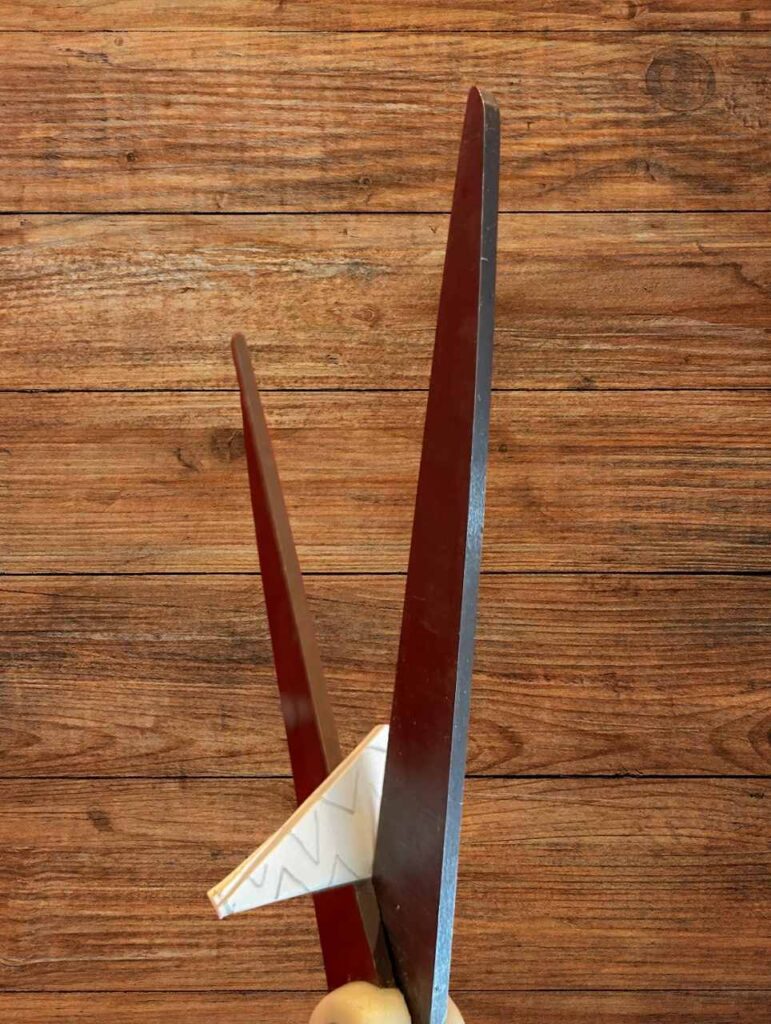
8. Use a pencil to plan your design, or just start cutting out shapes.
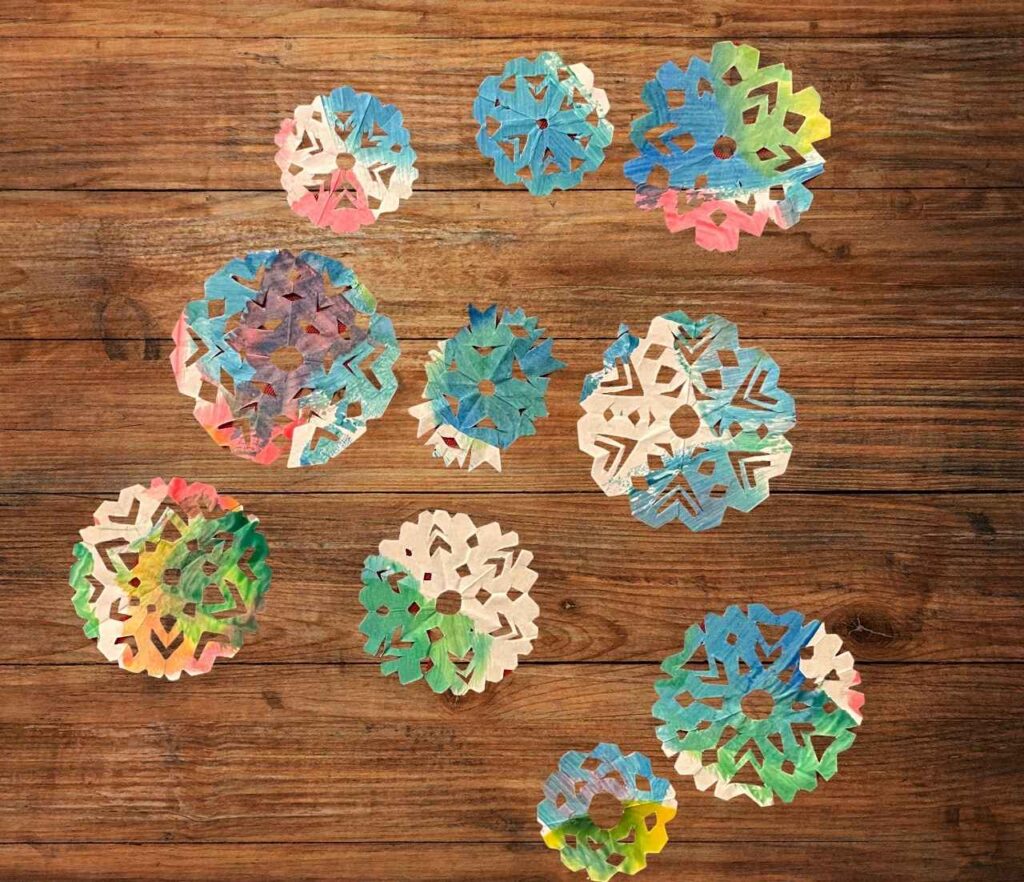
9. Open it up. Now you have a beautiful painted snowflake!
10. Repeat steps 3-9 until you have as many snowflakes as you desire for your DIY Christmas cards. It can’t hurt to make extras.
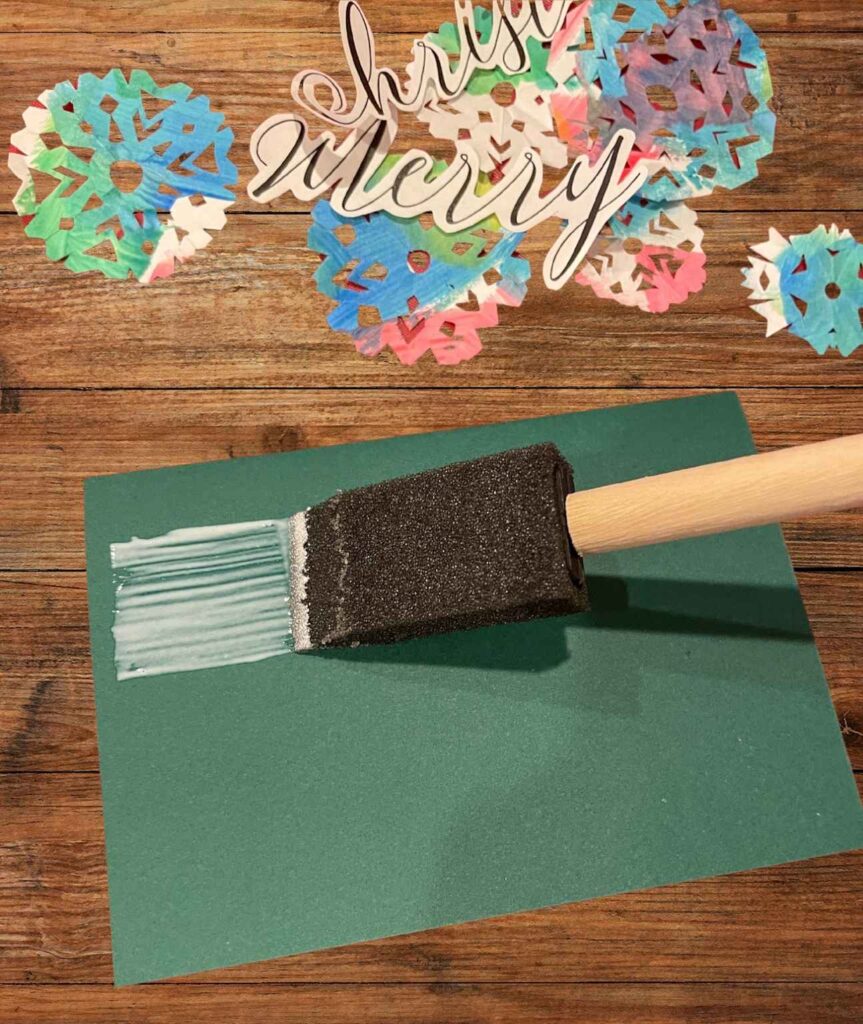
11. Print or write “Merry Christmas” and cut it out.
12. Layout your snowflakes and “Merry Christmas” on the cardstock.
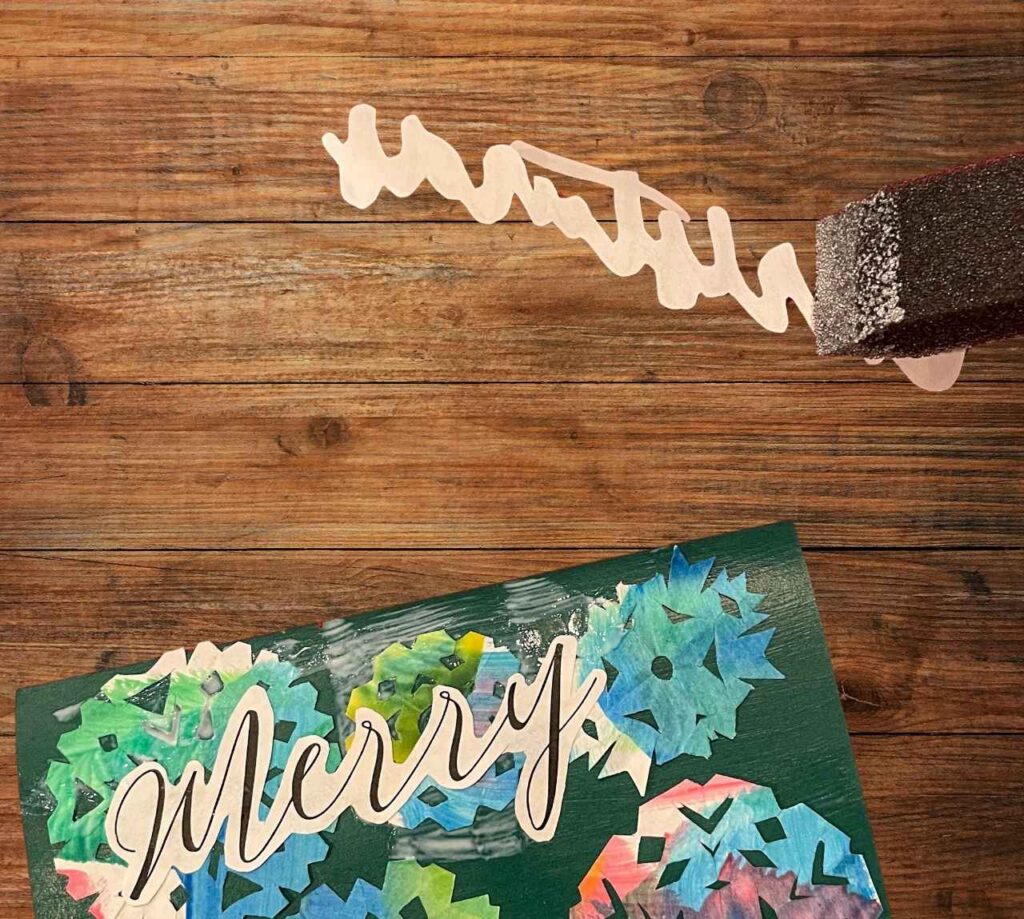
13. Paint a thin layer of mod podge on the cardstock paper. Then gently press your snowflakes and “Merry Christmas” onto the paper. Allow to dry.
14. Brush the back of the words over with mod podge and press them onto the card. If there are any pieces of paper (snowflakes or words) that aren’t fully stuck down, gently lift the portion that needs more mod podge and use your brush to add some, then press it down again.
15. Once all your pieces are in place and the mod podge is dry, very gently brush another layer of mod podge over the top of everything.
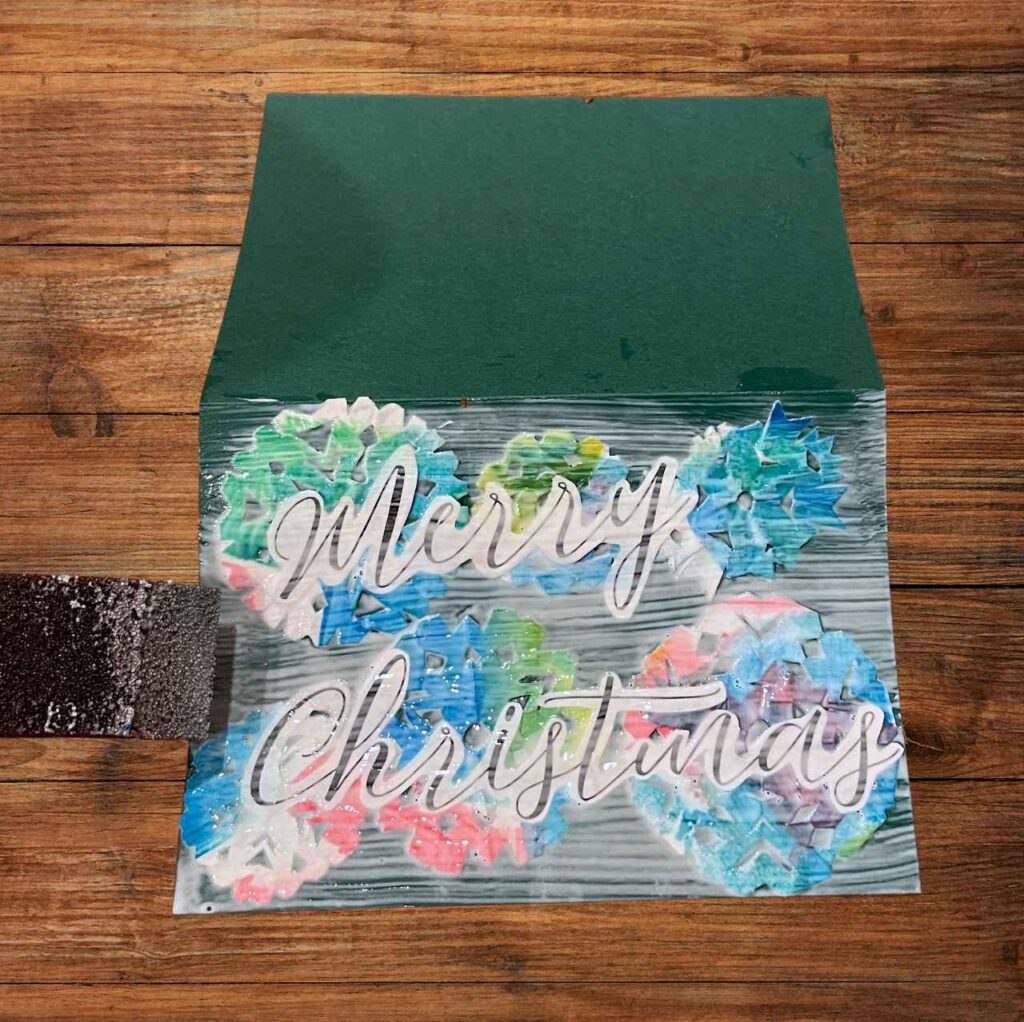
15. Your DIY Christmas card is complete!
RELATED: Easy Footprint Reindeer Craft
Notes
*-You can follow the tutorial in this post or check out this one from Good Housekeeping.
-If you are doing this craft with toddlers or kids, use tempera paint because it will wash off easily with water and is safe for skin.

DIY Christmas Cards- Hand Painted Snowflakes
Materials
- 5×7 or 4×6 cardstock paper
- White paper (I used printer paper)
- Mod Podge
- Paint (I used tempera paint)
- Paint brush or sponge
- Printed or handwritten “Merry Christmas”
Instructions
- Paint the white paper. I had my toddler do this step so the brush strokes would all be different colors, sizes, and shapes.
- Allow the paper to fully dry. Dry time will depend on the type of paint used and how thick it is. The tempera paint dries quickly so I only had to wait about an hour.
- Once the paint is dry, cut a strip of paper about an inch thick.
- Now, cut a square out of that paper (just eyeball it). Once you have it cut out, fold one of the corners down, as shown in the picture above. Then cut the excess paper off. This will ensure the paper is actually a square.
- Time to make the snowflake! Fold the paper in half, then in half again. (see photo above)
- Then, fold your paper into thirds. (see photo above)
- Cut the excess off the bottom. (see photo above)
- Use a pencil to plan your design, or just start cutting out shapes.
- Open it up and now you have a beautiful painted snowflake!
- Repeat steps 3-9 until you have as many snowflakes as you desire for your DIY Christmas cards.
- Print or write “Merry Christmas” and cut it out.
- Layout your snowflakes and “Merry Christmas” on the cardstock until you are happy with your design.
- Paint a thin layer of mod podge on the cardstock paper. Then gently press your snowflakes and “Merry Christmas” onto the paper. Allow to dry.
- Brush the back of the words over with mod Podge and press them onto the card. If there are any pieces of paper (snowflakes or words) that aren’t fully stuck down, gently lift the portion that needs more mod podge and use your brush to add some, then press it down again.
- Once all your pieces are in place and the mod podge is dry, very gently brush another layer of mod podge over the top of everything.
- Allow to dry.Your DIY Christmas card is complete!
Notes
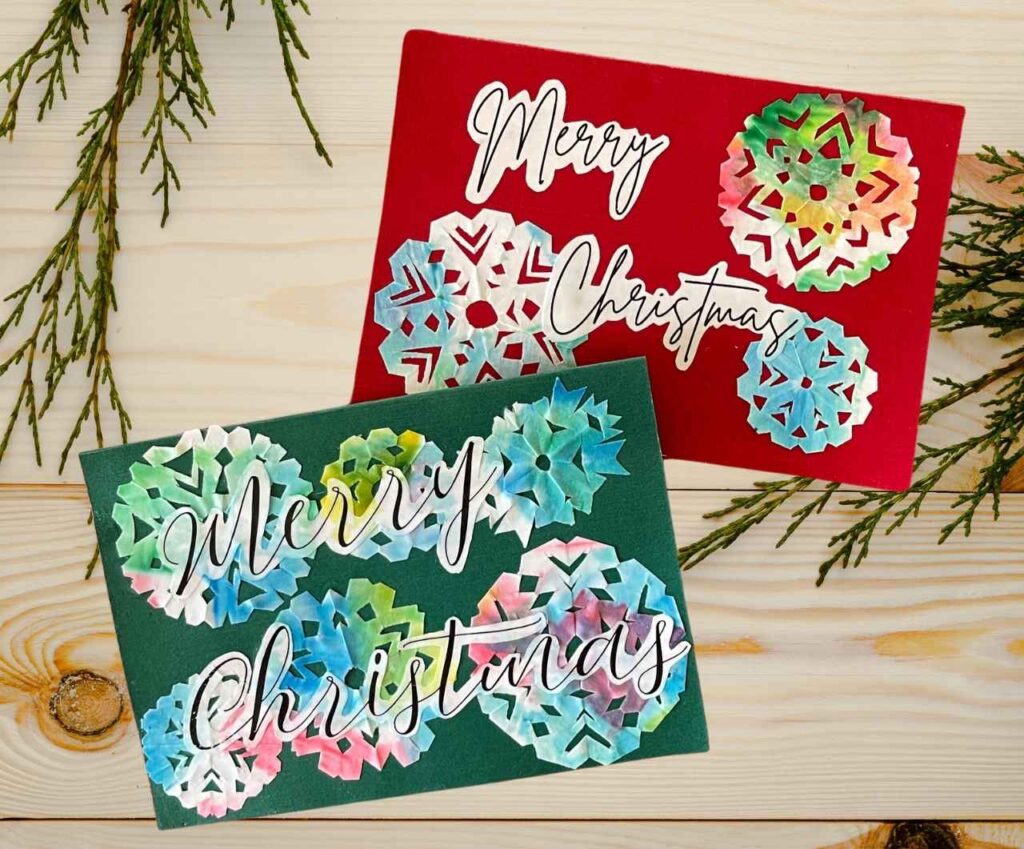
Merry Christmas! Enjoy your DIY Christmas cards!
RELATED: Baby’s 1st Christmas Handprint Craft
SAVE THIS FOR LATER!


Leave a Reply