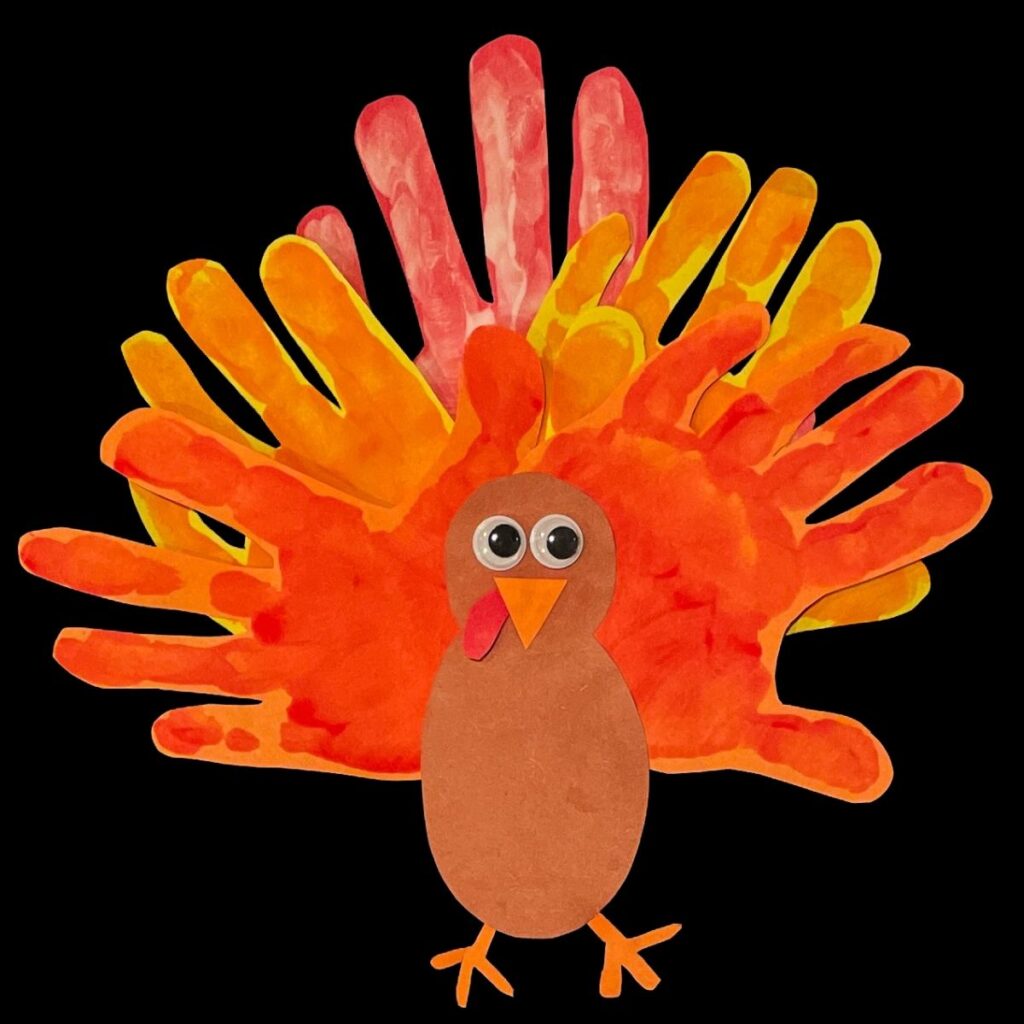
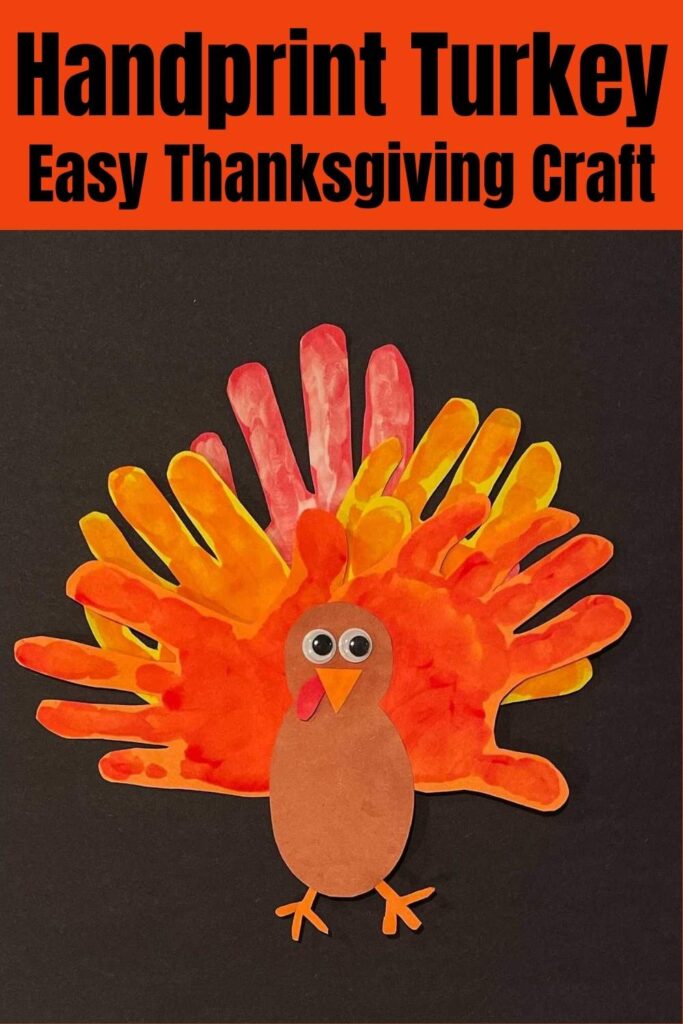
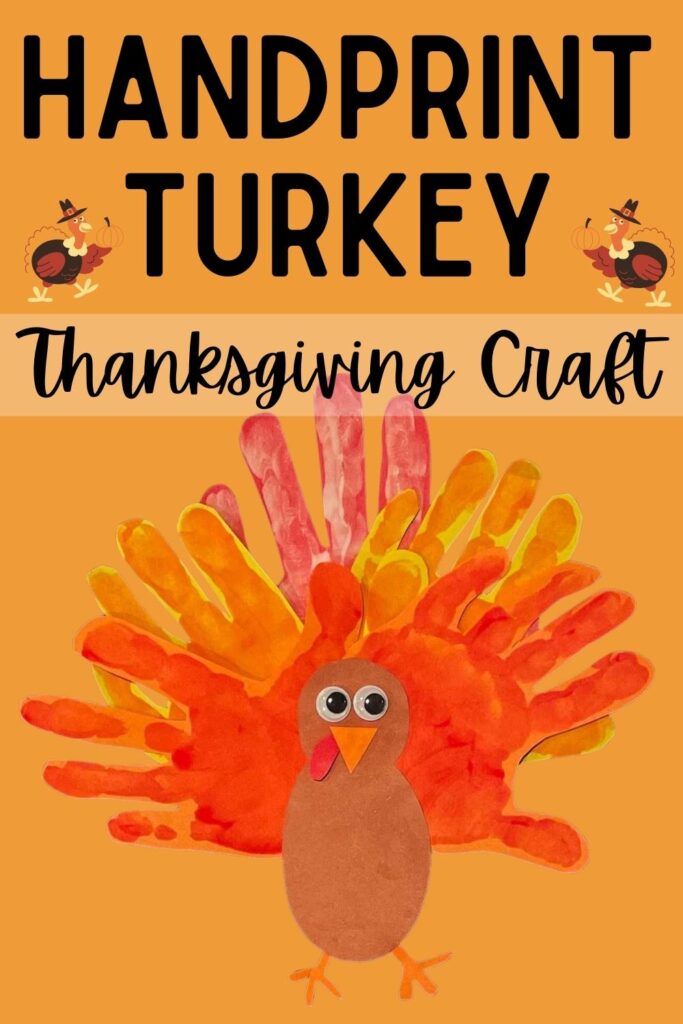
Fun and easy handprint turkey craft, perfect for kids and toddlers.
This thanksgiving handprint turkey craft is so simple to make and can be done with any size hand, making is a fun activity for the whole family.
What a great way to spend time together on thanksgiving! Make a craft that you will remember for years to come.
I loved doing this craft with my toddler. He got a kick out of painting his hand and getting to press it on the paper. Then once the turkey was finished, he loved looking at it and saying “gobble gobble!”
I can bring this handprint turkey craft out next year and use it as decoration as we reminisce about how small his hand once was.
RELATED: Family Handprint Turkey Thanksgiving Craft
This post contains affiliate links, as an Amazon Associate I earn from qualifying purchases at no extra cost to you. View privacy policy and disclaimer here.
Supplies
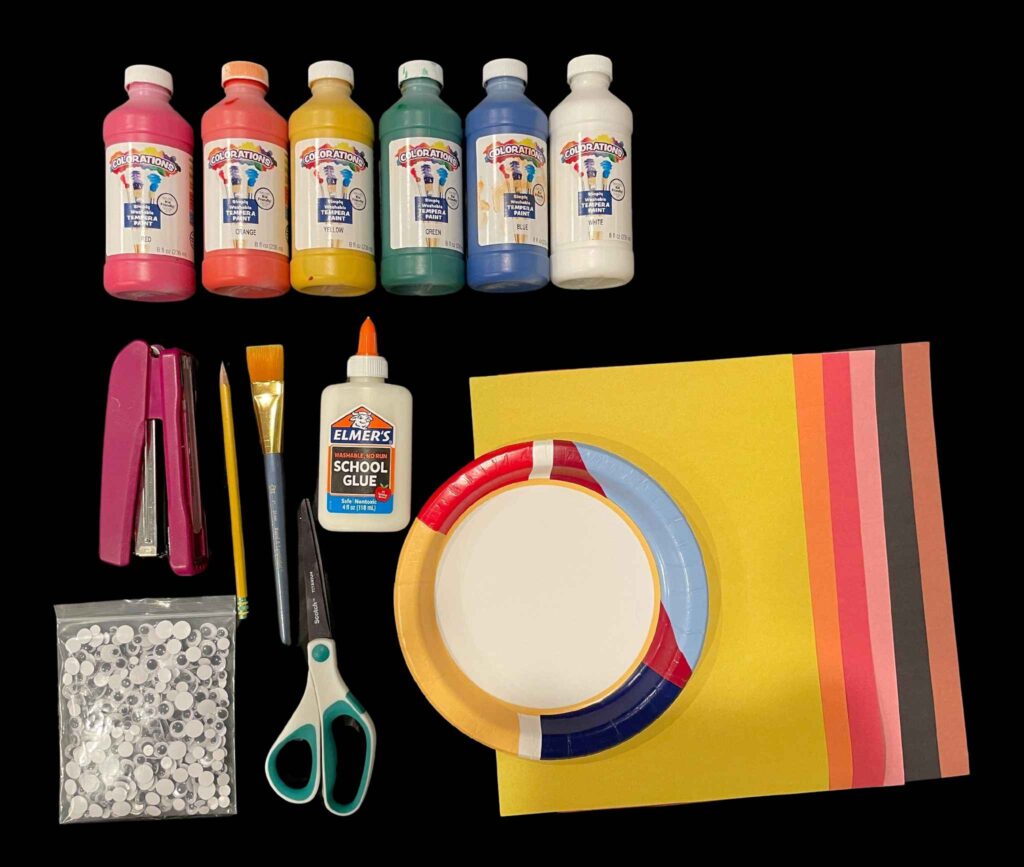
-Paint brush
-Scissors
-Glue
-Stapler
-Pencil
Directions:
1. Begin by painting your child’s hand. Get paint all the way up the fingertips and all over the palm. I started with orange paint.
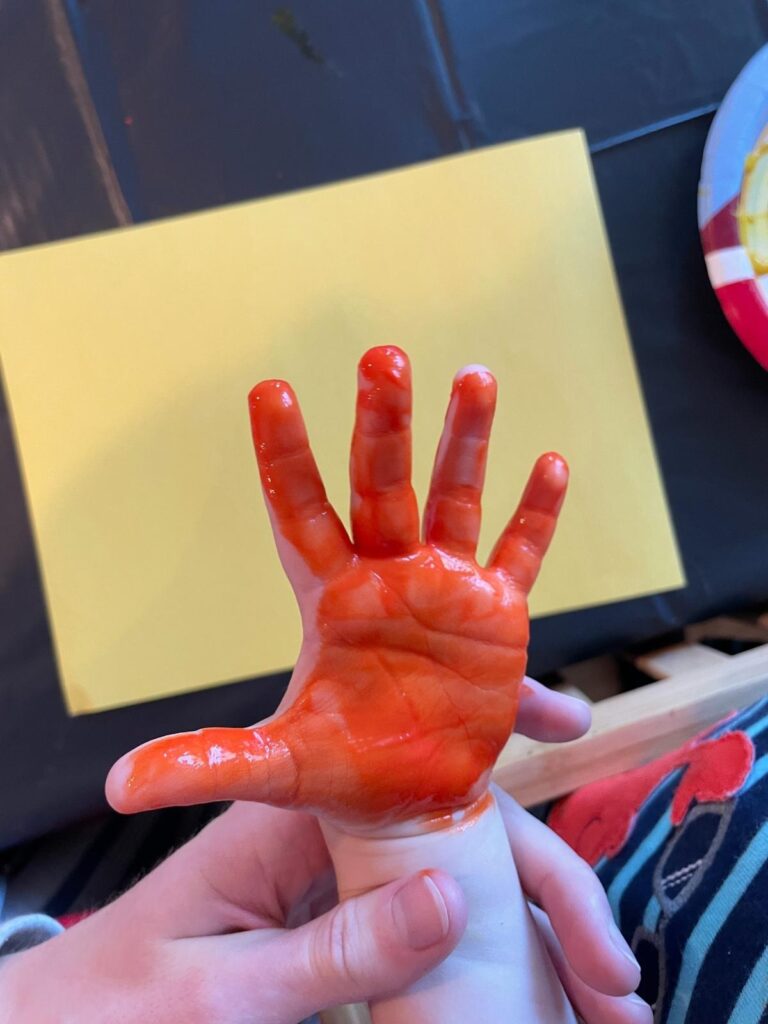
2. Press your child’s hand firmly on the color paper of your choice. Make sure to press their palm on to the paper so you get a good handprint. I did orange paint on yellow paper first.
3. Repeat steps 1-2 for each of the handprints. You will need 5 good handprints in total. Get creative with your color combinations.
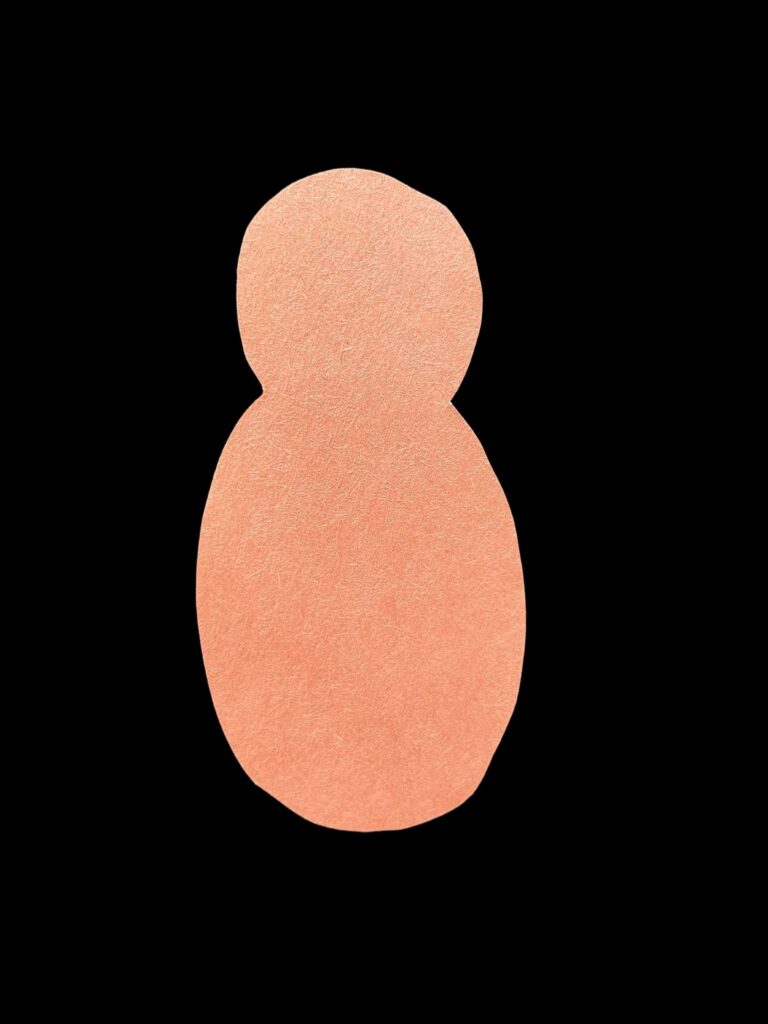
4. Now it’s time to start on the turkey. Use brown construction paper and your pencil to draw the outline of the turkey’s body.
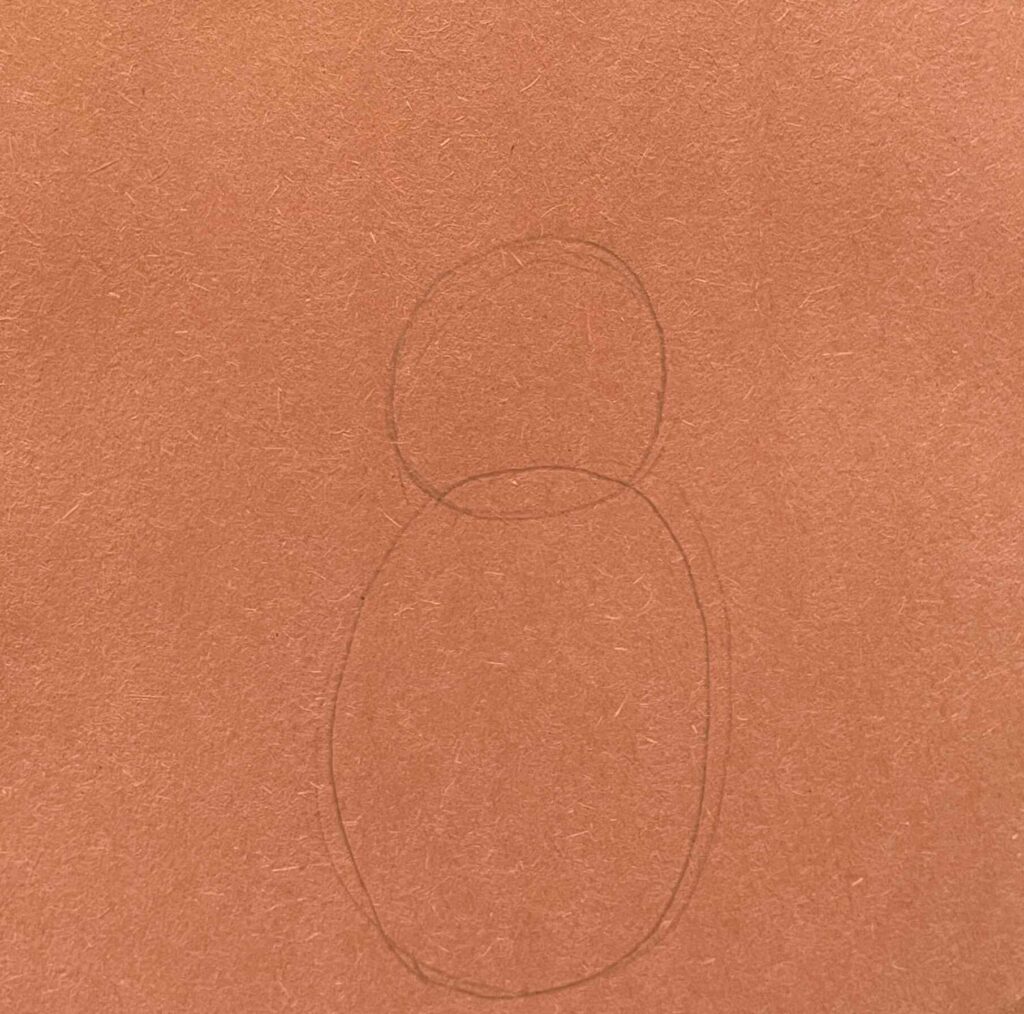
5. Cut out the turkey.
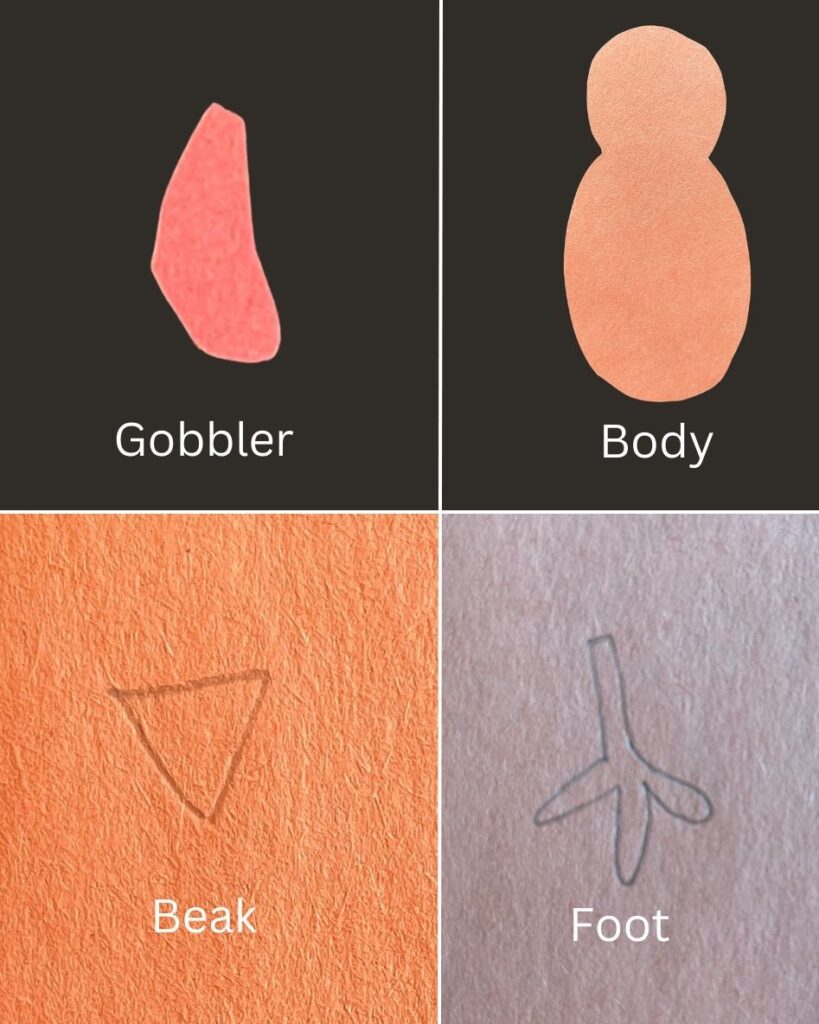
6. Next, draw and cut out the turkey’s gobbler, feet, and beak. They don’t need to be perfect. In fact, it’s pretty cute when they aren’t!
7. Then cut out the handprints once they are fully dry.
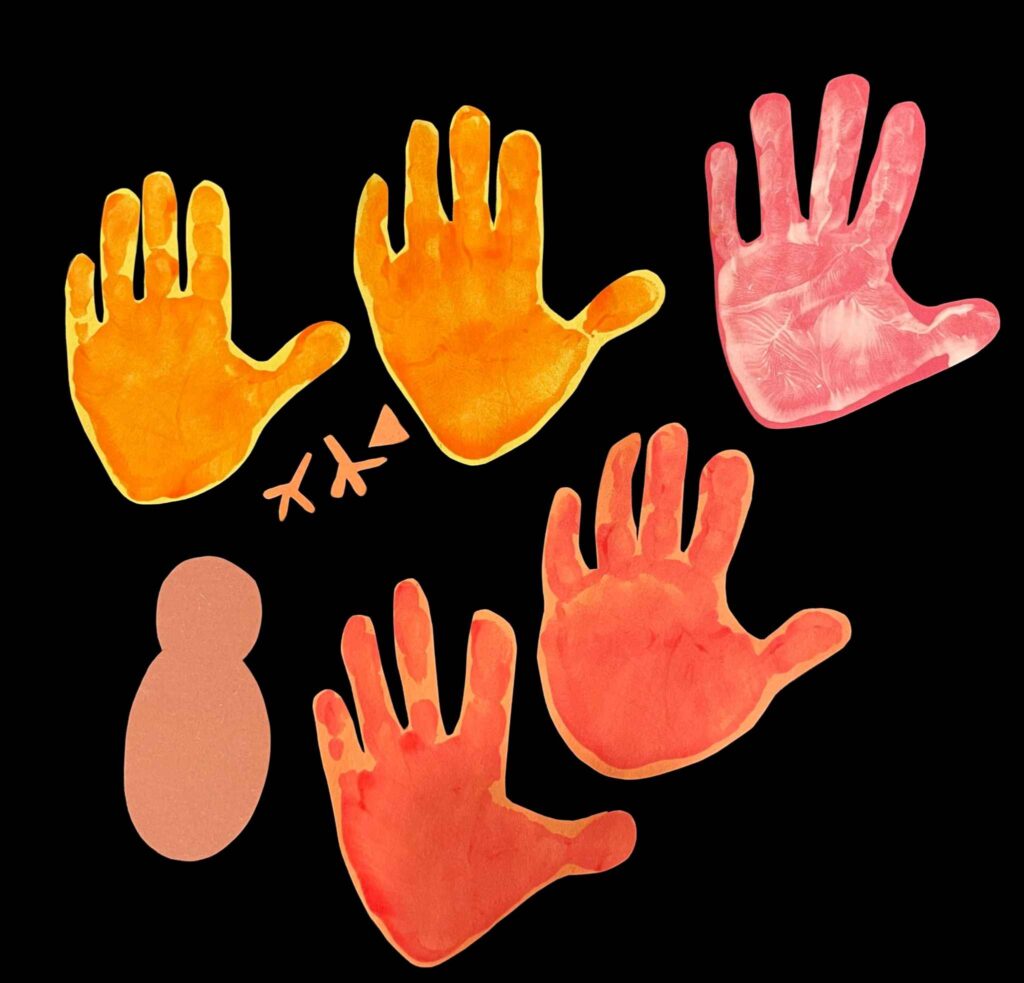
8. Time to assemble the turkey! Align the handprints so they form the feathers on the turkey. I used a staple to keep them together once I had them lined up how I liked them.
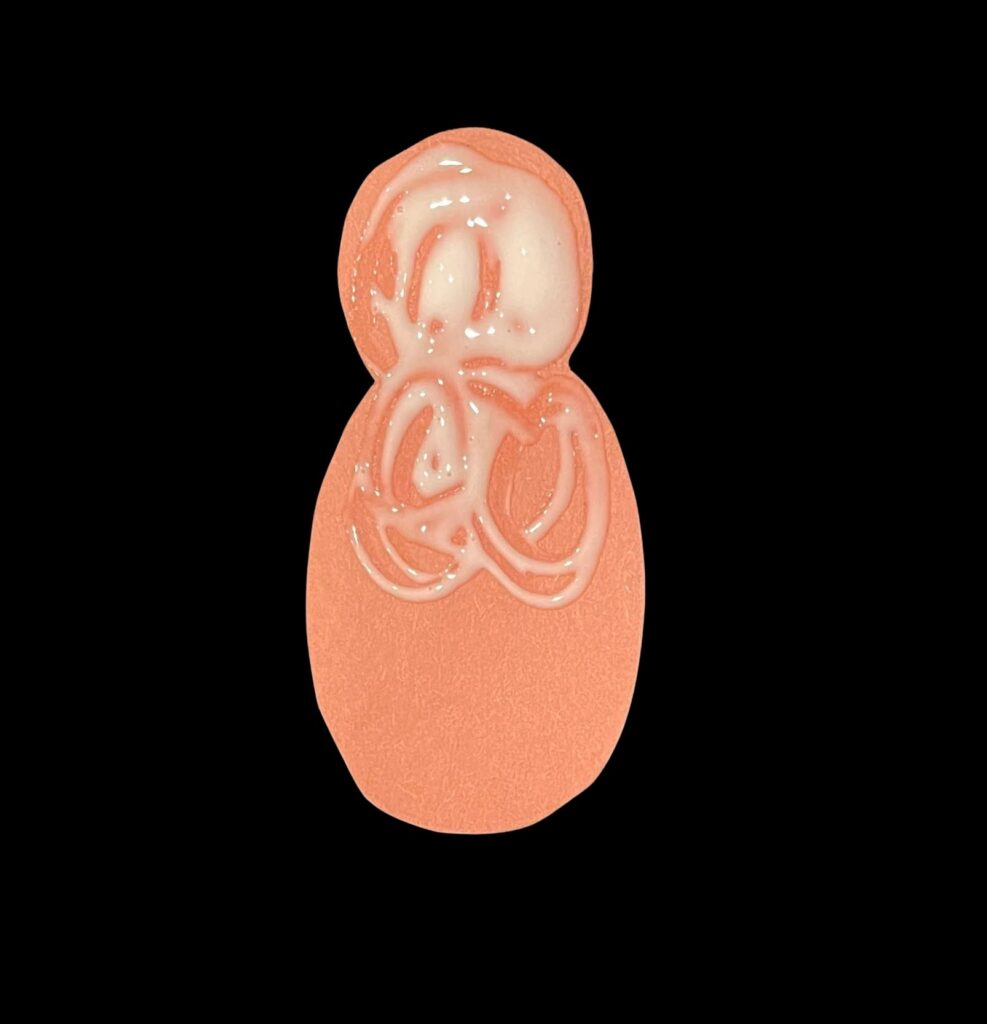
9. Glue the body of the turkey onto the stapled handprint feathers.
10. Put the googly eyes onto the turkey’s head.
11. Glue the gobbler to the beak, then glue them down to the face of the turkey. I glued them together first so I could line them up before putting them onto the face.
12. Glue the feet to the bottom of the turkey’s body. Use only a dot of glue at the top of the leg.
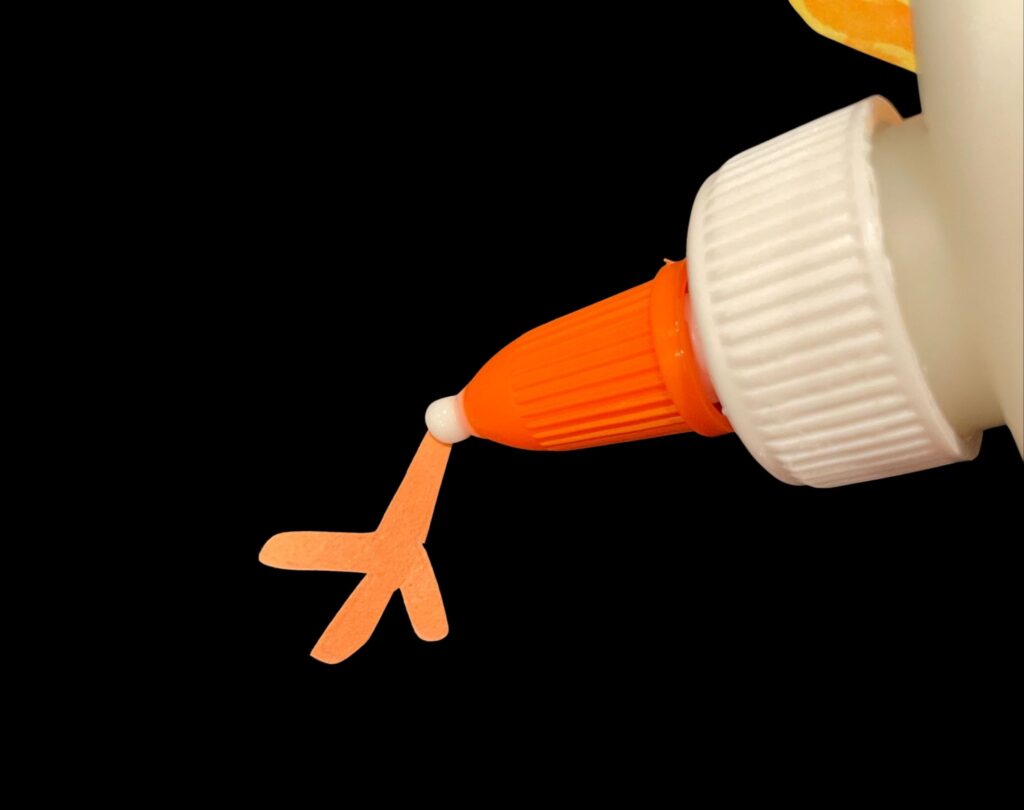
13. Make any last adjustments before the glue dries. Then let it sit overnight to fully dry.

Tips and Tricks
-Use tempura paint because it washes off skin and clothing easily and is safe for kids.
-When you glue the legs onto the turkey’s body, glue them on the back of the body.
-Stapling the cut out handprints together before gluing on the body is crucial to maintain the layout you choose.
-When you are finished, you can keep the turkey as is, or glue it to a piece of construction paper so it has a background.
Happy Thanksgiving! Enjoy your handprint turkey!



Leave a Reply