

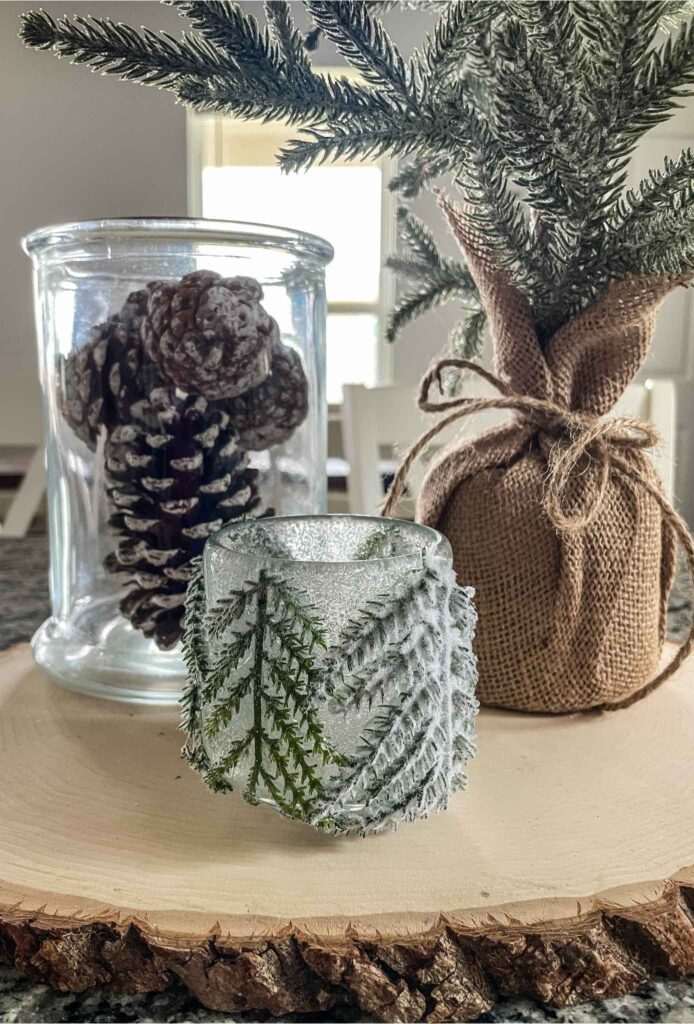
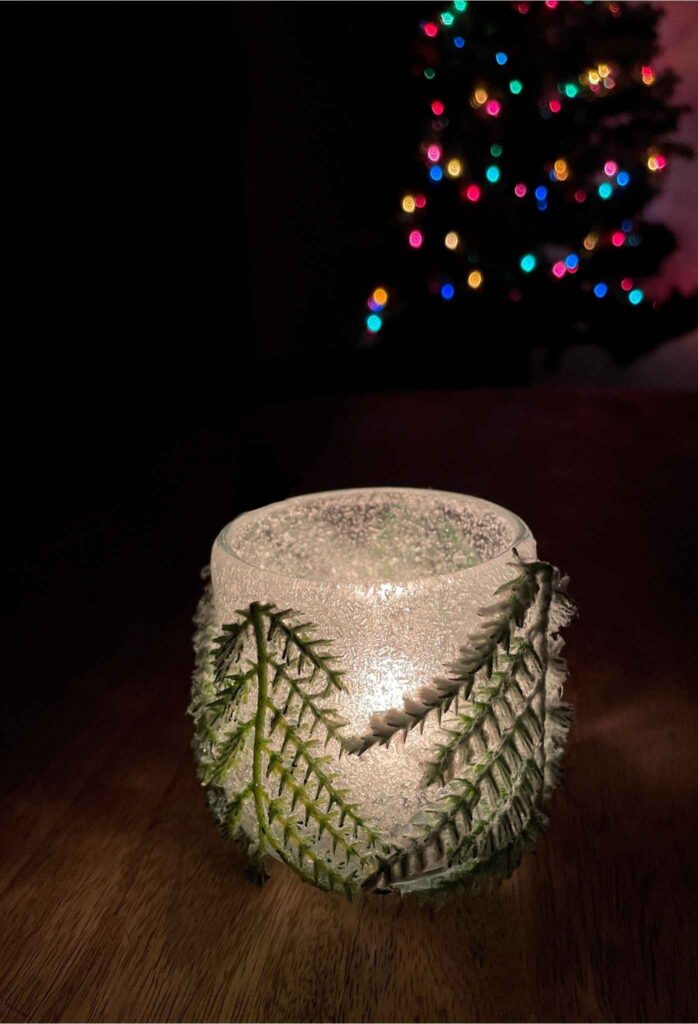
Create a beautiful wintery candle votive!
This snowy Christmas votive is just what your table needs this season. Light up the room with a gorgeous candle holder DIY craft. Everyone will love it!
This candle holder can be completed in just one evening as you sit by the Christmas tree and enjoy some hot chocolate and good conversation with those you love.
I love watching the light dance in the sparkles and trees of this candle holder when the candle is lit inside. I like to keep it on the table in my living room when I’m not using it in the dining room.
My toddler is at the age where he is loving all things Christmas and candles are one of them. This candle holder DIY craft is one of his favorites to look at.
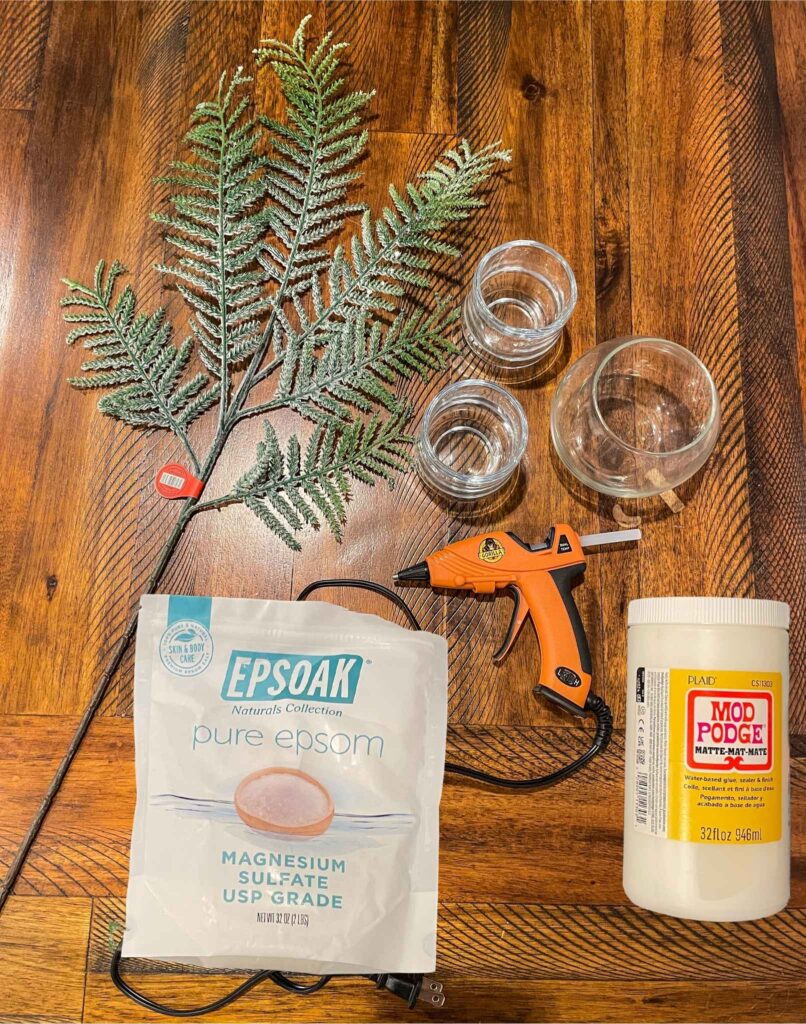
Supplies:
This post contains affiliate links, as an Amazon Associate I earn from qualifying purchases at no extra cost to you. View privacy policy and disclaimer here.
-Faux tree branch
-Glass votive
-Hot glue gun and hot glue (this one is my favorite)
-Scissors
–Foam brush or paint brush
-Tea light candle (real or battery powered)
Directions:
1. Turn on your hot glue gun so it can start warming up.
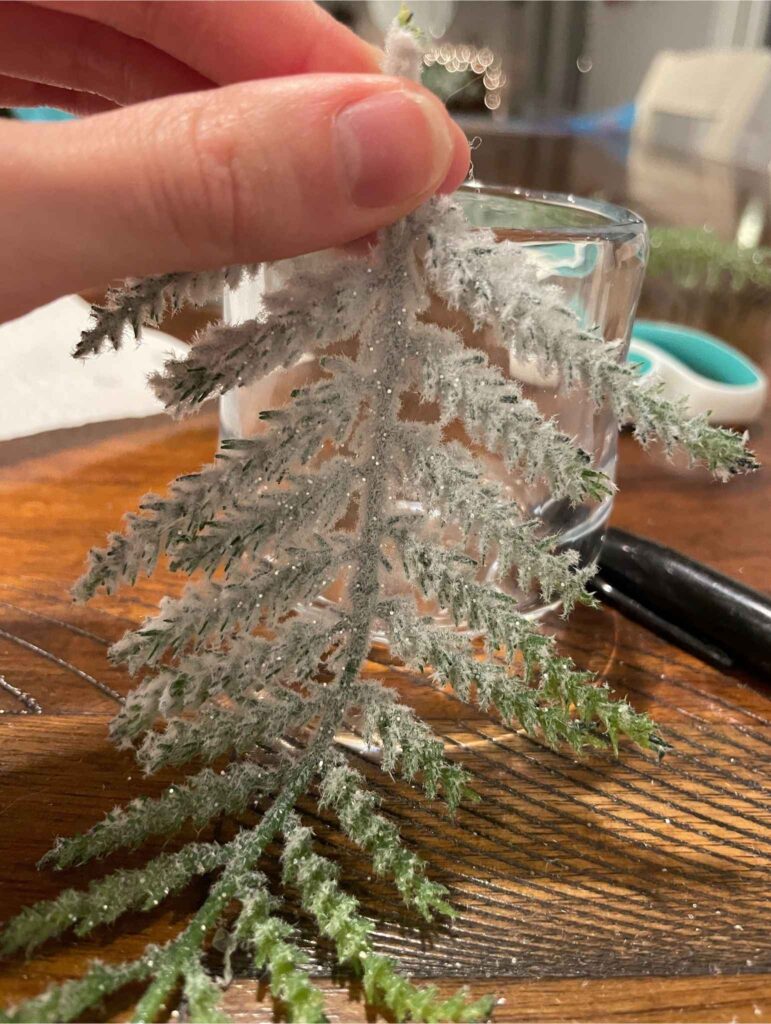
2. Begin by measuring your faux tree branch against the votive, this way you know where to make the cut. I used a sharpie to mark on the branch exactly where I wanted to cut.
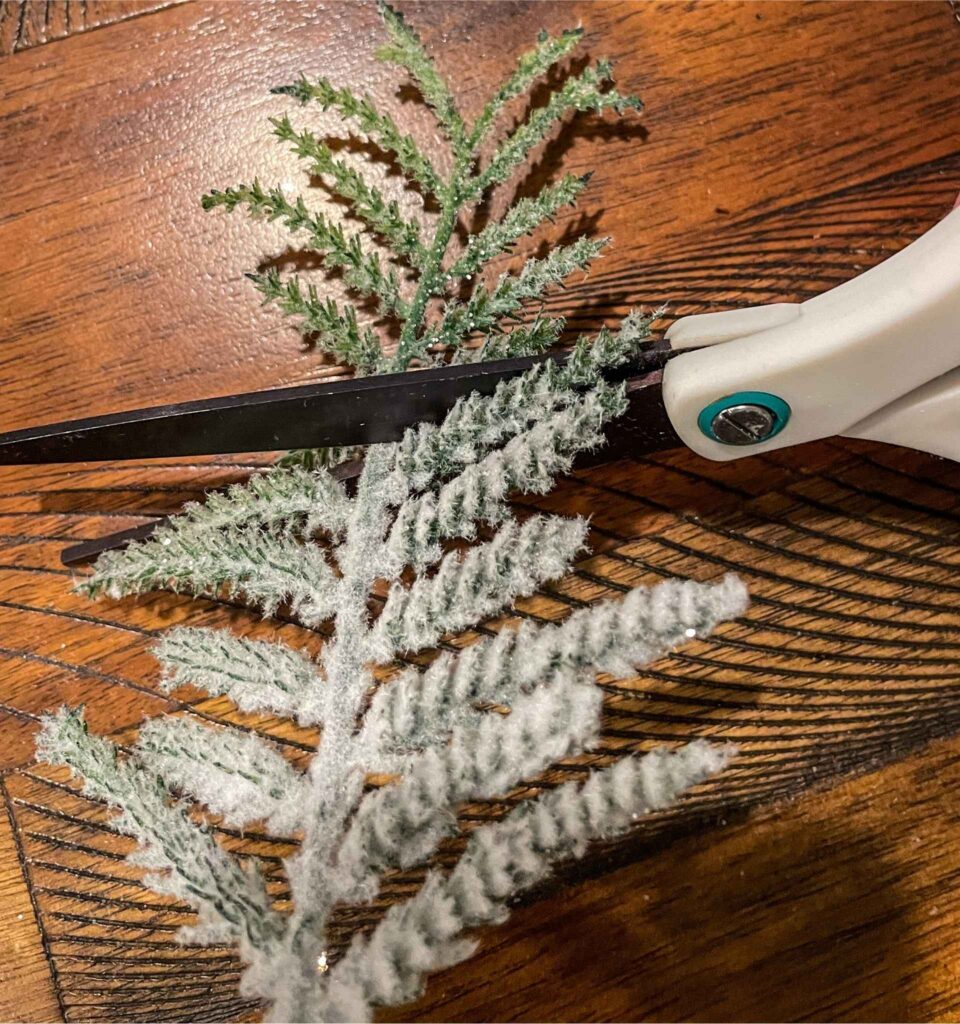
3. Use your scissors to cut the branch. Make sure there aren’t any sharp edges sticking out where you made the cut. The branch I used had a wire in the middle so I had to work the scissors a bit to get a good cut.
4. Take the piece of branch that you cut and place a thin line of hot glue along the center. Then place it firmly on the glass votive.
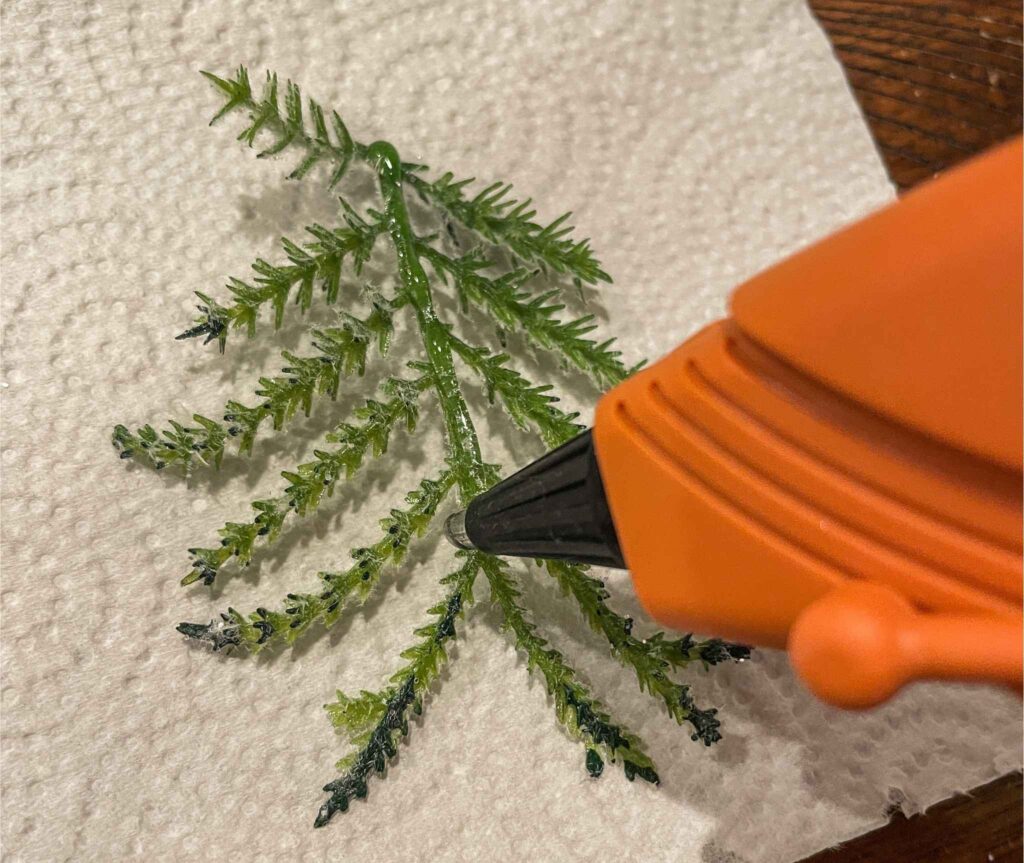
5. Now put small dots of hot glue on each of the smaller branches and press them on the glass. I started at the top and worked my way down, one by one. Don’t use too much glue or else it will get messy when you press the branches down.

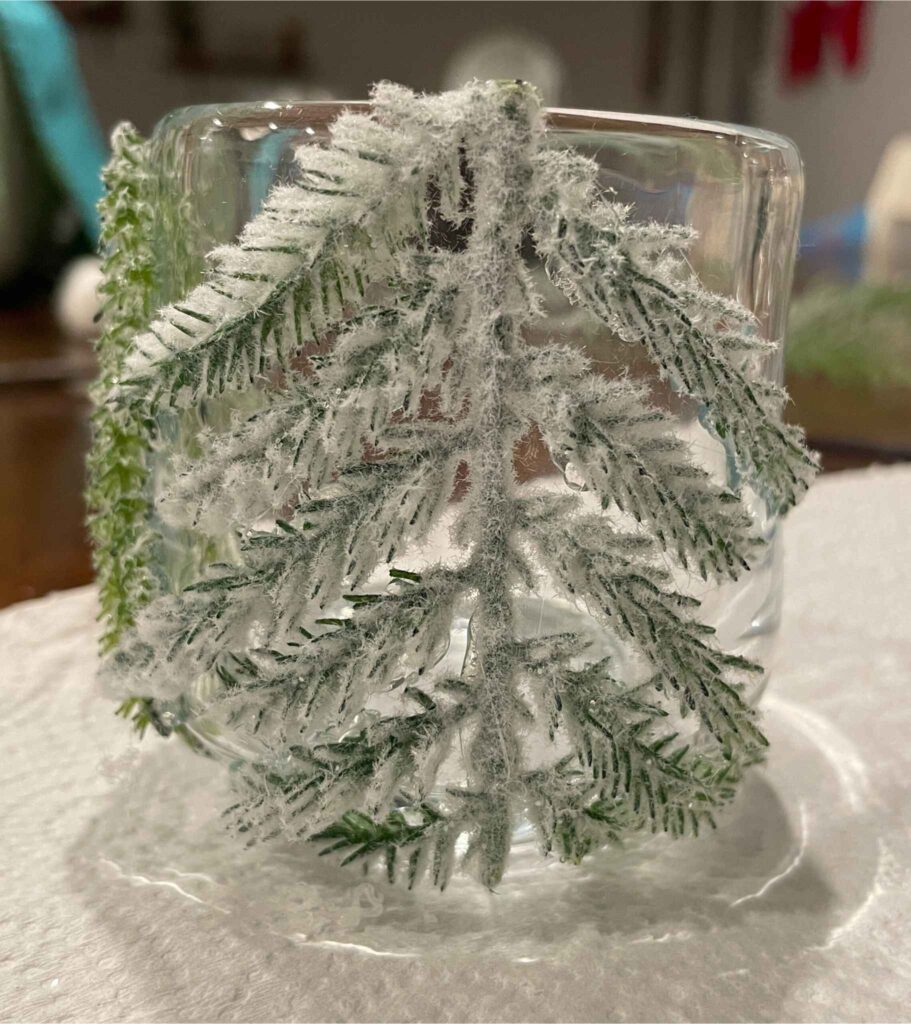
6. Once you have completed your first tree, repeat steps 4 and 5 for each of the following trees. I ended up with four trees total. The number you have will depend on the size of branches and how far apart you place your trees.
I alternated my trees so every other one was super snowy.
7. Allow the hot glue on the trees to fully dry (about 10-15 minutes).
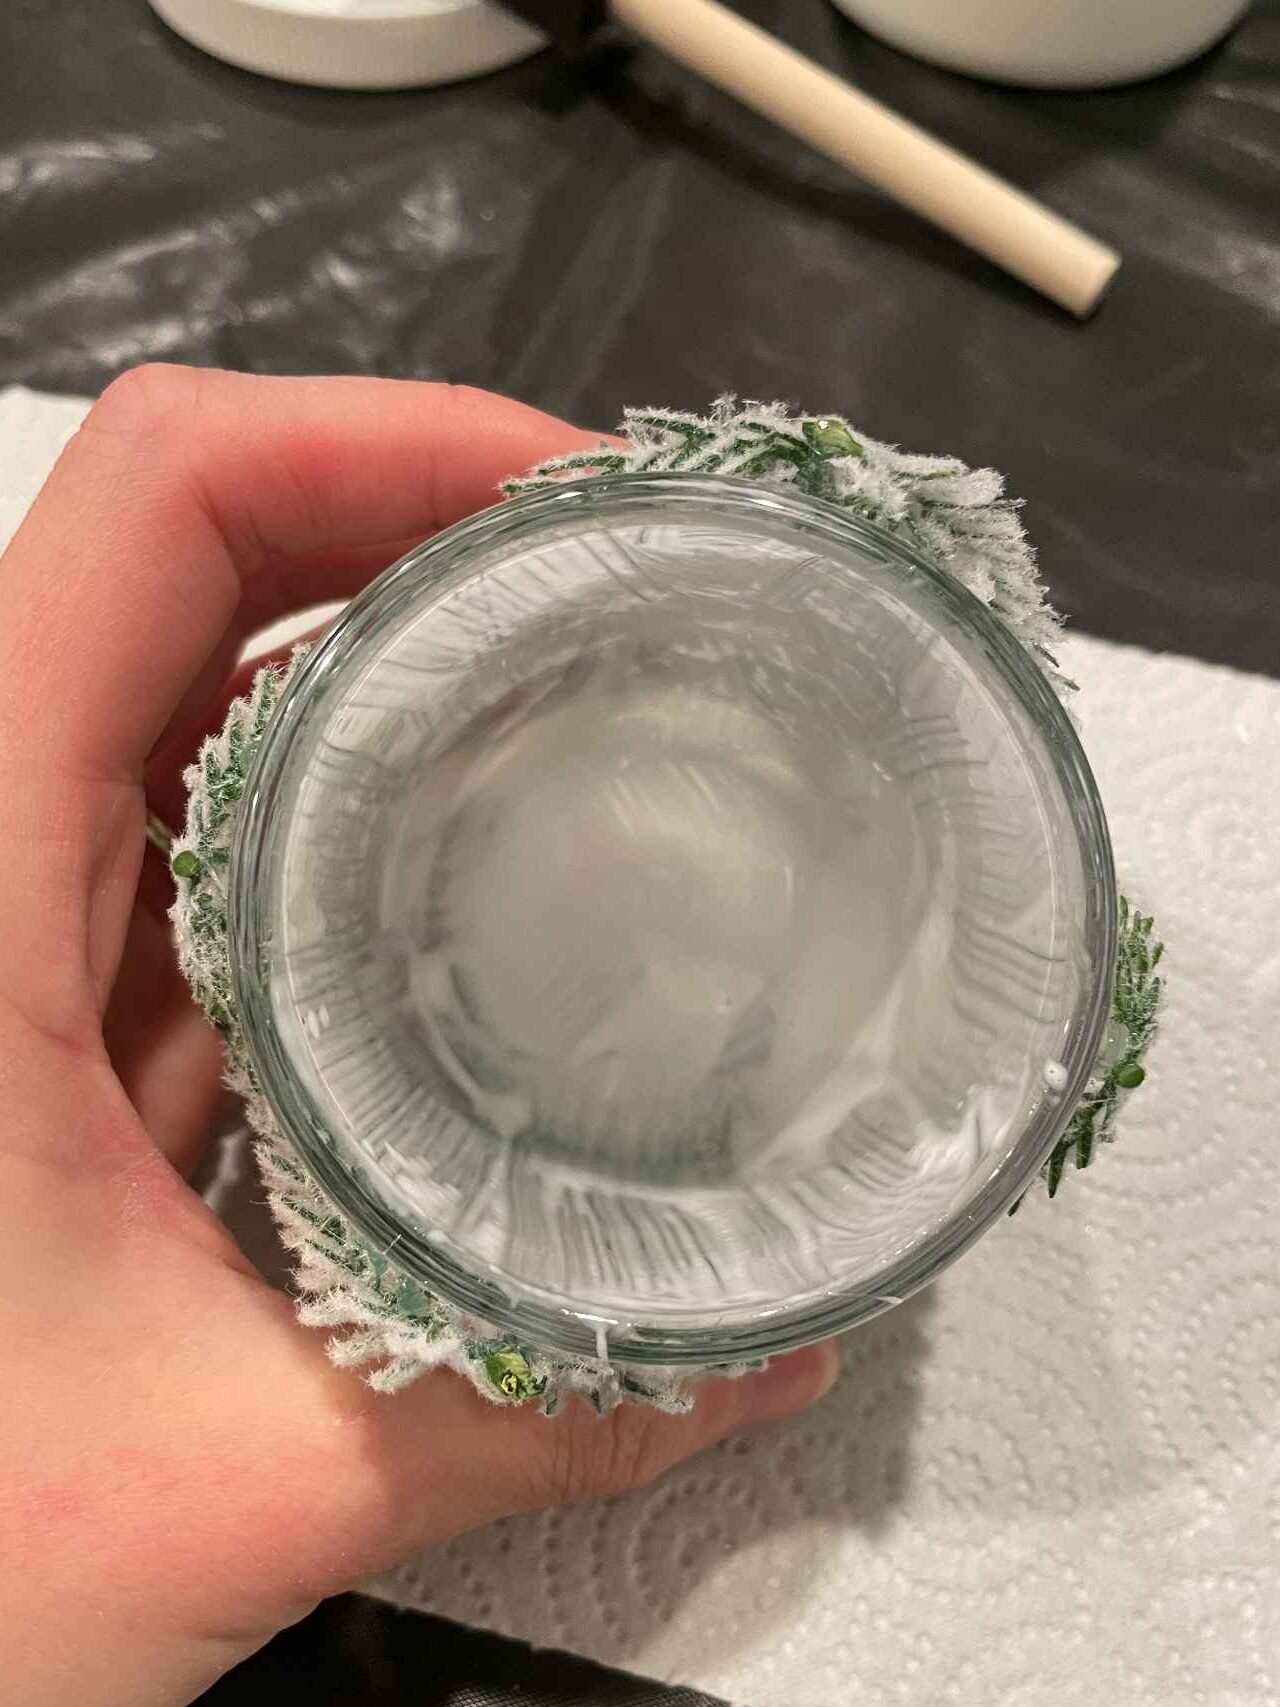
8. Now it’s time to add the “snow” to the inside of the votive. Use your foam sponge or paint brush to put mod podge all over the inside of the votive. Make sure it’s spread in a thin, even layer across the bottom and sides of the votive.
9. Immediately, while the mod podge is still wet, sprinkle Epsom salt all over the inside of the votive. Tap the votive as you go to avoid any large clumps forming.
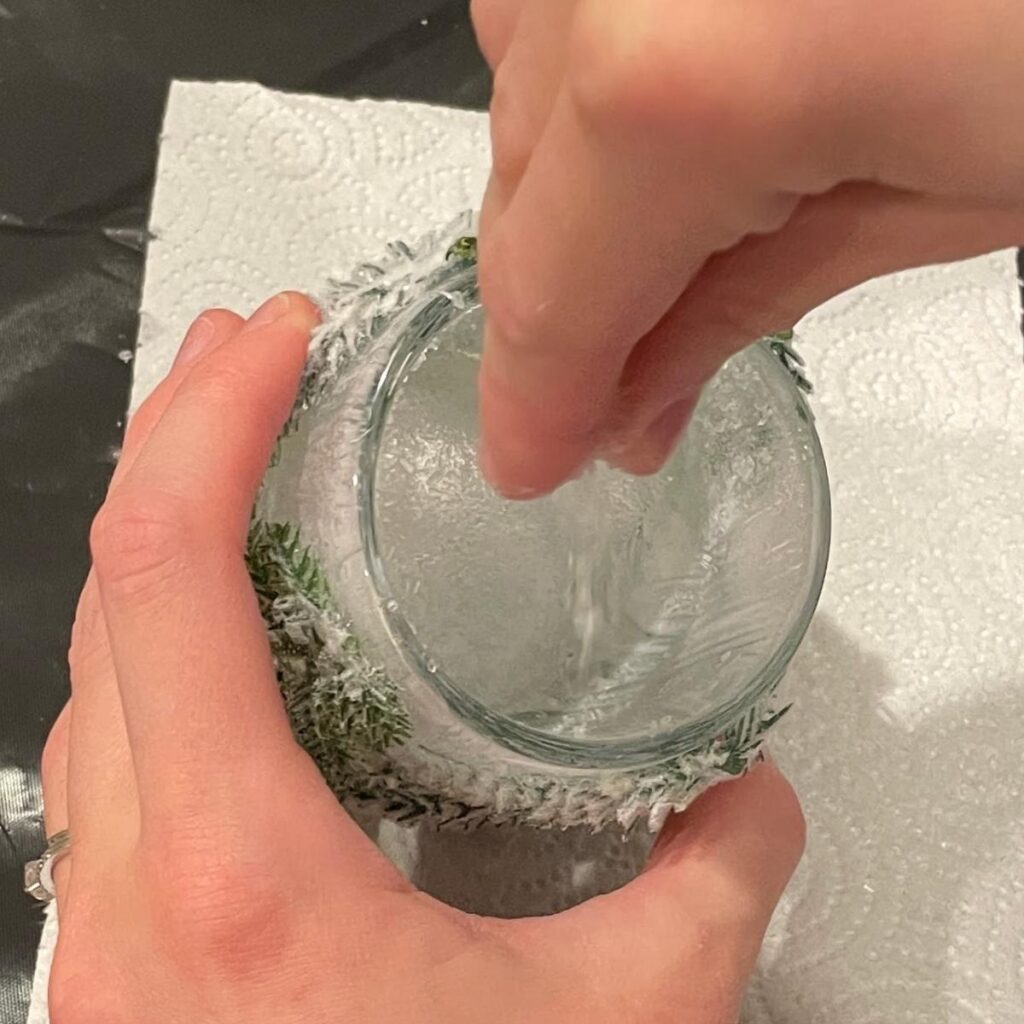
10. Once you are happy with the amount of Epsom salt, turn the votive upside down and gently tap out the extra salt. Now, allow the votive to dry overnight.
11. Add a tea light candle and you are all set to enjoy your beautiful snowy Christmas candle holder DIY craft!
Helpful Tips:
-While a sealant will keep the Epsom salt in place, it is flammable and not safe to spray inside the votive if you are using a real candle. If you use a battery powered one then it can help to use a sealant (like this one) over the Epsom salt.
-If you get too much hot glue on the glass you can rub it off before it hardens.
-Hold the branch in place while the glue sets so it doesn’t slide.
-Do all the mod podge at once (as stated in the directions), instead of in sections. This will make it easier to sprinkle the epsom salt in evenly.
-I purchased the votive and faux tree branch at Hobby Lobby
Enjoy your beautiful candle holder DIY craft!
SAVE THIS FOR LATER!


Rachel
This is a great idea! Do-able and so pretty. It would be great all through winter.
Dusty
What a cute idea. I love it too!